Prologue
With this guide you should be able to install Proxmox.
Things you need:
- A server or computer that supports virtualization
- 2 GB USB stick or larger
- Basic networking skills and a network
- Internet connectivity
With this guide you should be able to install Proxmox.
Things you need:
First you download the Proxmox ISO-file from the official website: Click here.
Then you can head over to the Rufus website, and download the portable version of Rufus: Click here.
Insert your USB stick and make sure to copy everything away that you still need, the next steps will completely erase the USB stick.
Start Rufus, and make sure the correct device is selected.
Then click on SELECT and select the Proxmox VE ISO-file.
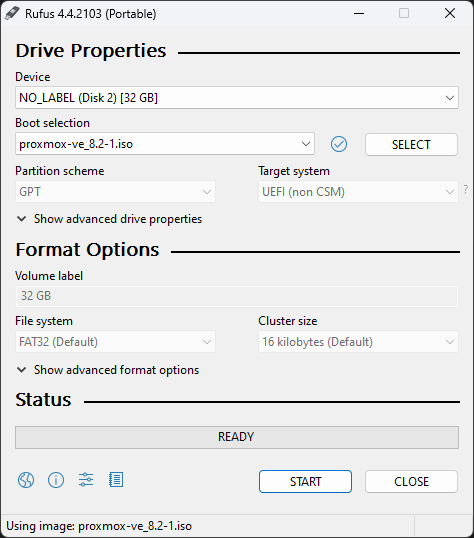
Great! Now you have to click on START.
Once the process is done, make sure to eject the USB stick properly before removing it.
You can practically install Proxmox on any computer, however it is advised to properly configure the hardware for redundancy.
One way to achieve this, is to add multiple drives of the same size to the computer/server, that way you can create a RAID which will avoiding data loss when a disk breaks.
Proxmox uses ZFS raid, which you have to configure when you first install Proxmox, during the setup you can also select your multiple drives and the type of raid you want.
Here's an overview of the types of RAID you can do with ZFS:
| ZFS Name | Raid Type | Minimum disks |
|---|---|---|
| Striping | Raid 0 | 1 |
| Mirror | Raid 1 | 2 |
| RAIDZ1 | Raid 5 | 3 |
| RAIDZ2 | Raid 6 | 4 |
| RAIDZ3 | - | 5 |
RAIDZ3 is basically like RAID 6, except 3 drives can fail without data loss.
Now that you've made the decision which drive configuration you want to use, it is time to decide if you want to manage your RAID from a hardware RAID controller or entirely through ZFS.
This is often a question of the budget, however there's multiple advantages and disadvantages which I will list here:
Please note, this list can go on forever, so I will put some of the most important points in here.
Flash raid is the "on-board" RAID of the mainboard, which is not supported by Proxmox.
Insert your USB stick into your server, and connect network, a monitor, a keyboard and a mouse as well.
Power it on.
For servers follow the instructions on the monitor on which key to press to select the boot device, for computers this usually depends on the manufacturer, searching for your mainboard online can give you some hints if you struggle to enter the boot menu.
Once you're booted into the installation media, it'll look like this:
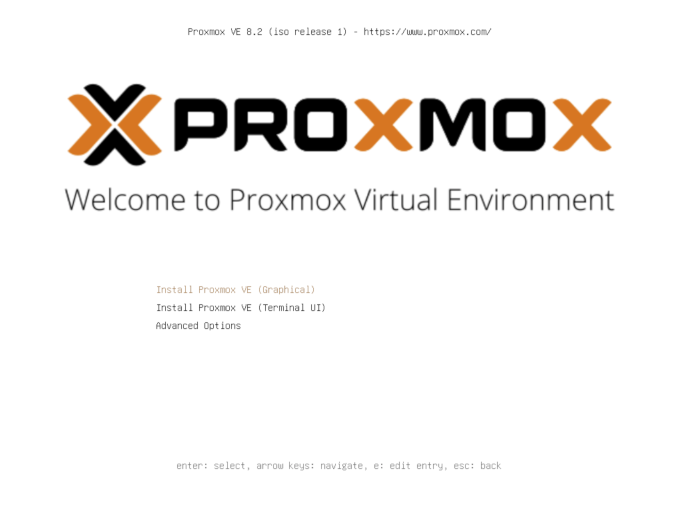
Press enter to continue.
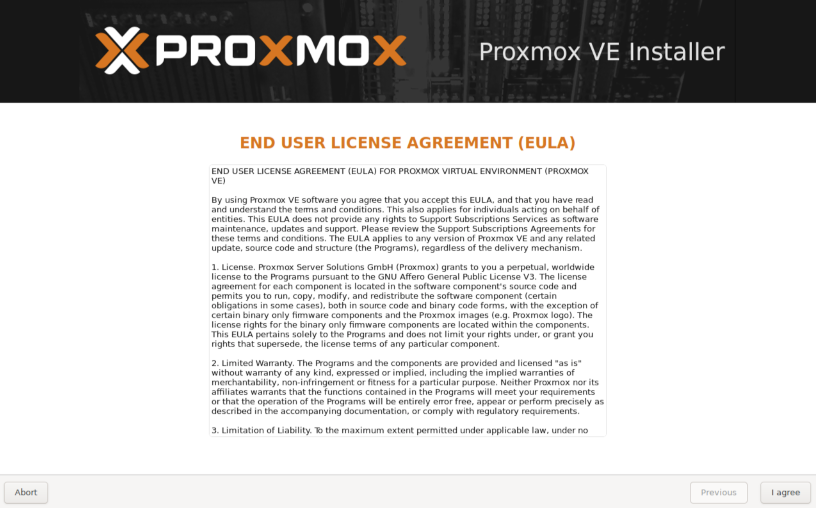
Read and accept the end user license agreement to continue.
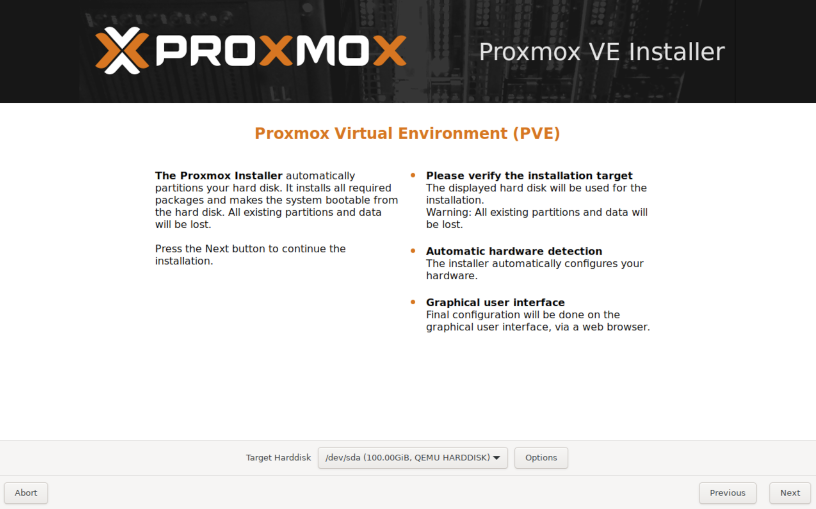
By default Proxmox will try to install to a drive with ext4, click Options to configure redundancy and more:

After selecting ZFS, it'll look something like this:
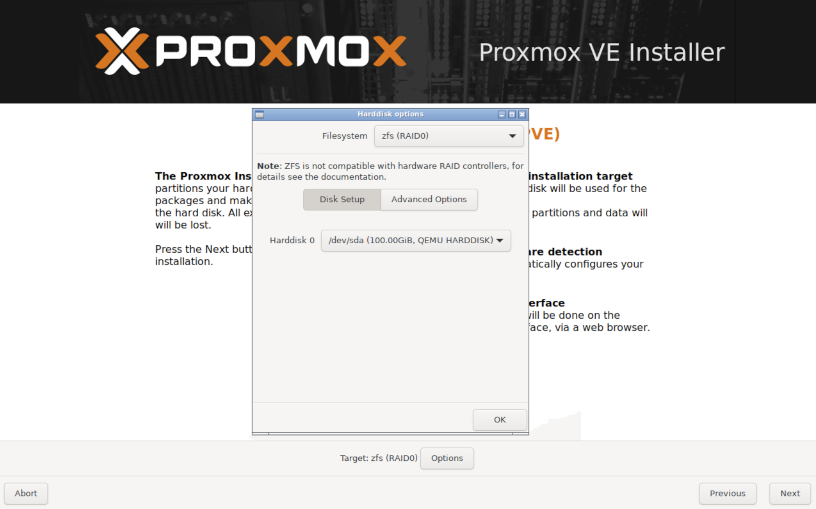
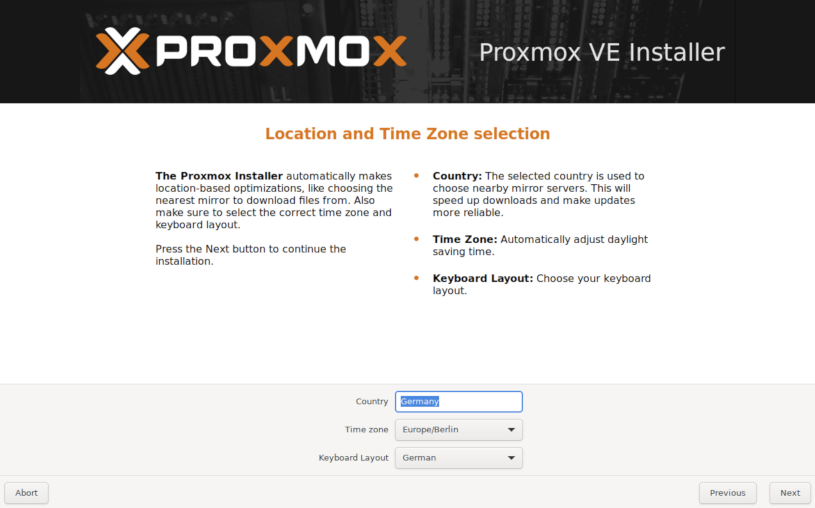
Configure to your preference, make sure your keyboard layout is correct.
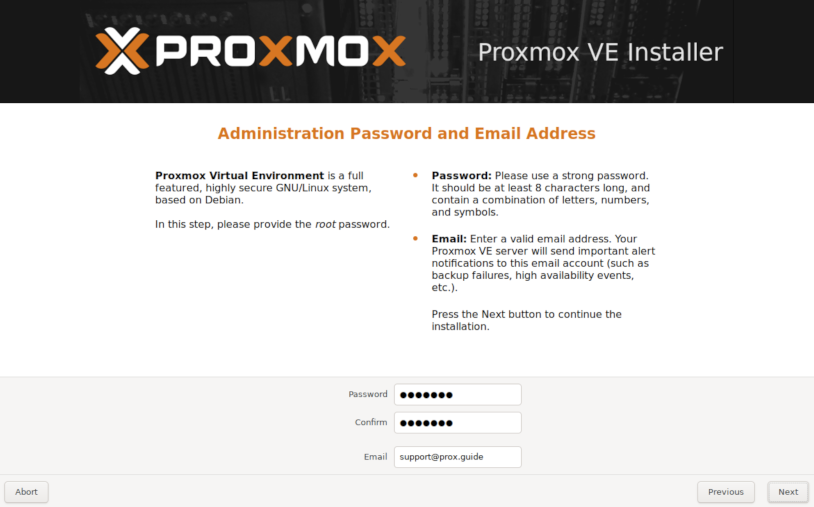
Now set your administrator password, as well as your E-Mail.
Your E-Mail will be important for notifications from Proxmox, including disk health.
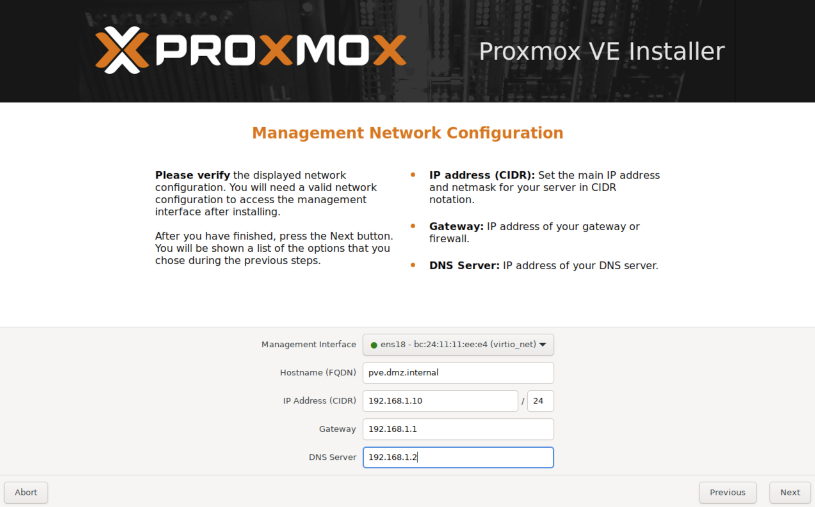
Give your Proxmox host a name that integrates into your existing environment.
Also assign an available IP address, Gateway and DNS Server.
Now it's time to review your configuration, you can click previous if you want to correct something.
When everything looks good, click Install to start the installation.
It'll automatically reboot when it's done, if you keep the checkbox checked.

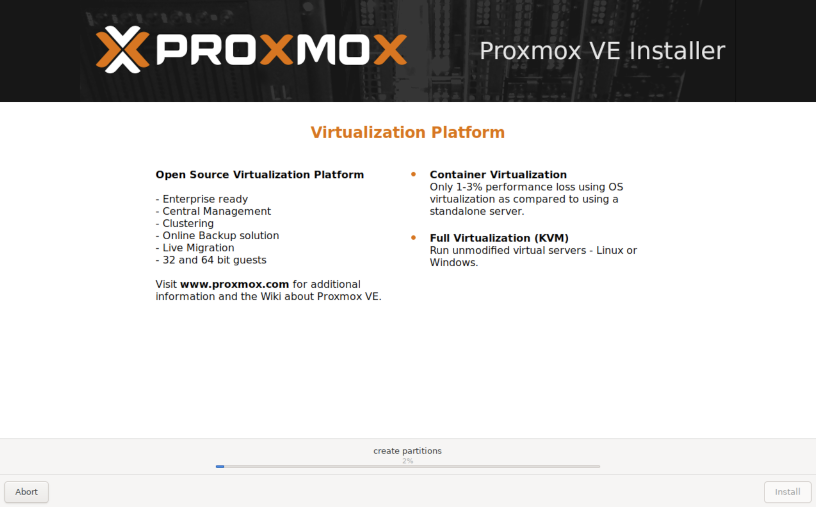
The installation will complete in a few minutes:
You can now access your Proxmox installation by visiting:
https://<proxmox-ip>:8006
Now you can log-in with your Administration password and the root user:
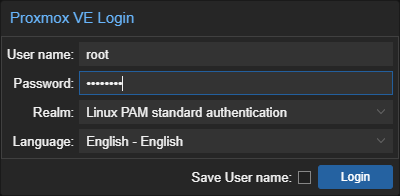
Congratulations to your brand new PVE installation! 🎉