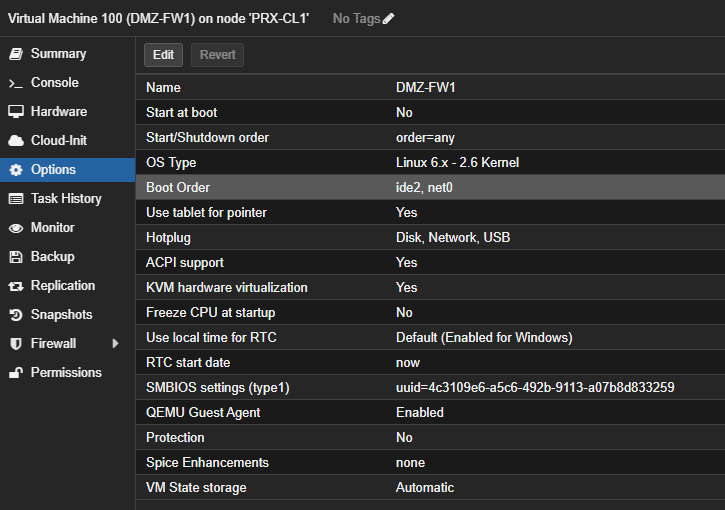
Configure DMZ firewall interface
We will create a new dmz named lab.
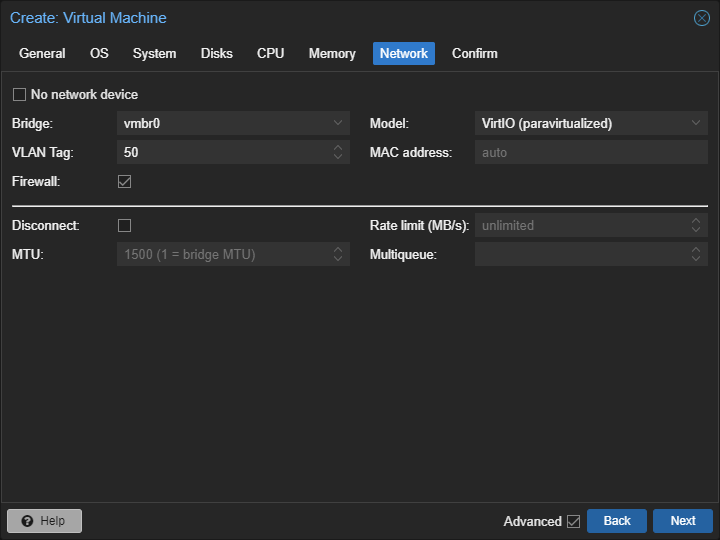
Our dmz will be based on the vlan 50.
The dmz network will be 192.168.0.0/24
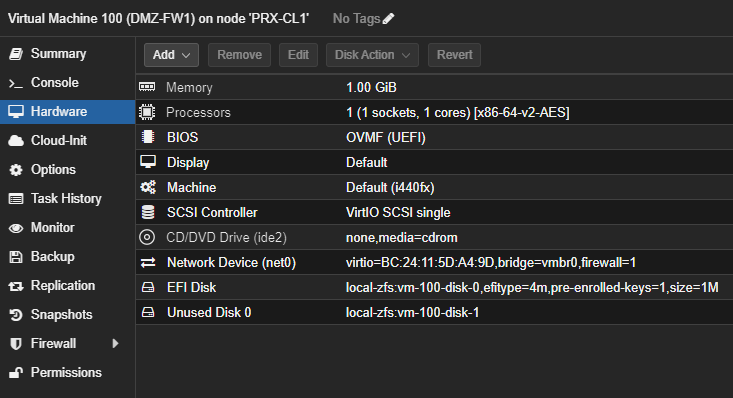
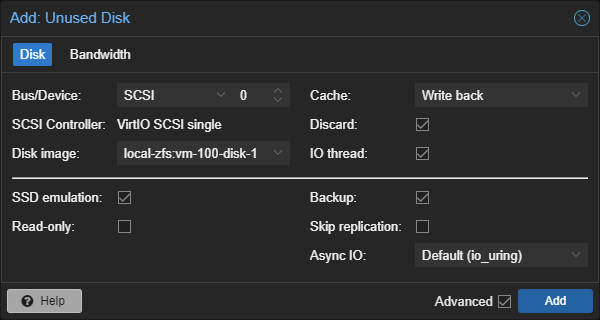
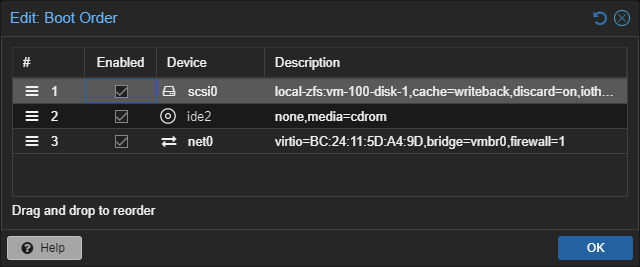
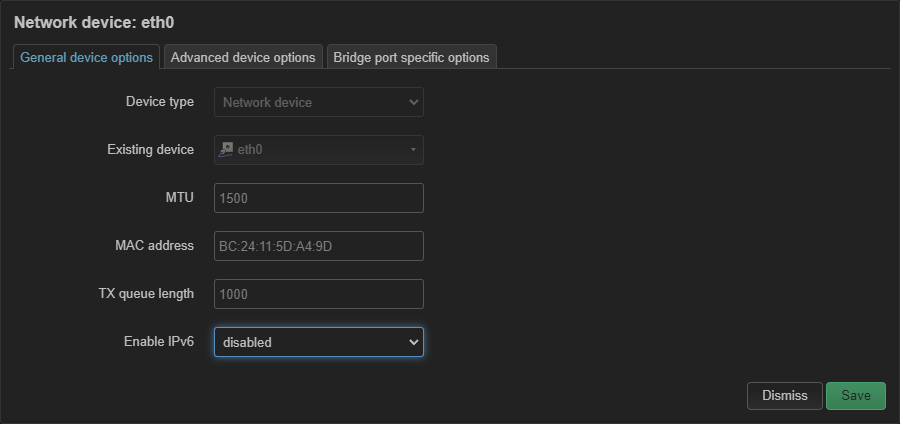
Go to your firewall VMs hardware and add a new network device with the vlan 50:
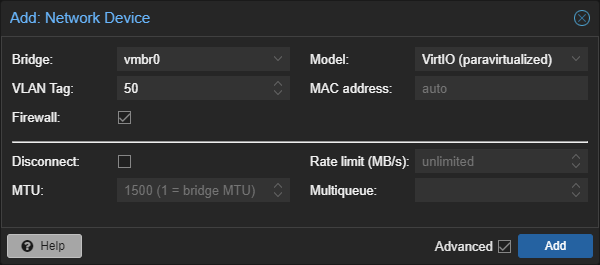
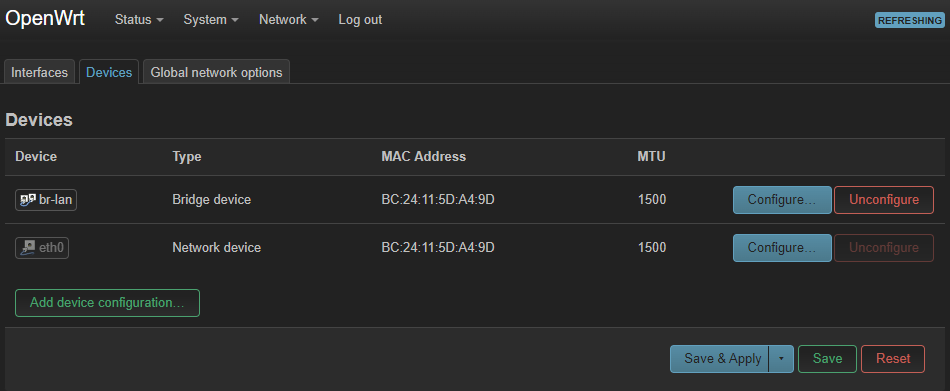
Great, you should have two network devices now:

For each demilitarized zone you want one network device on your VM with the according VLAN.
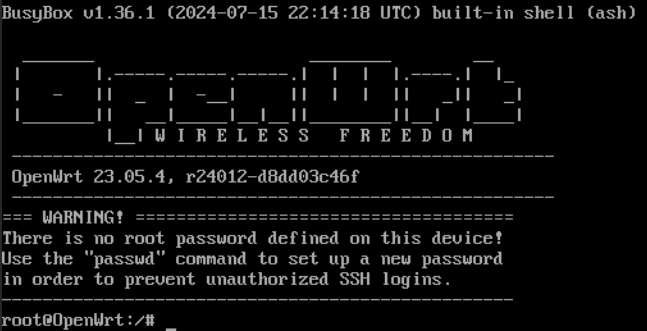
Create interface in OpenWRT
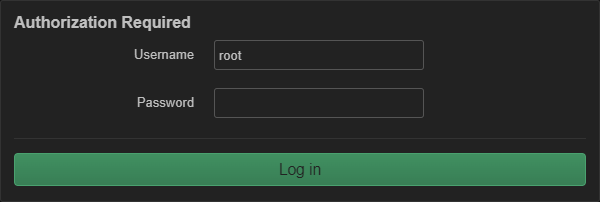
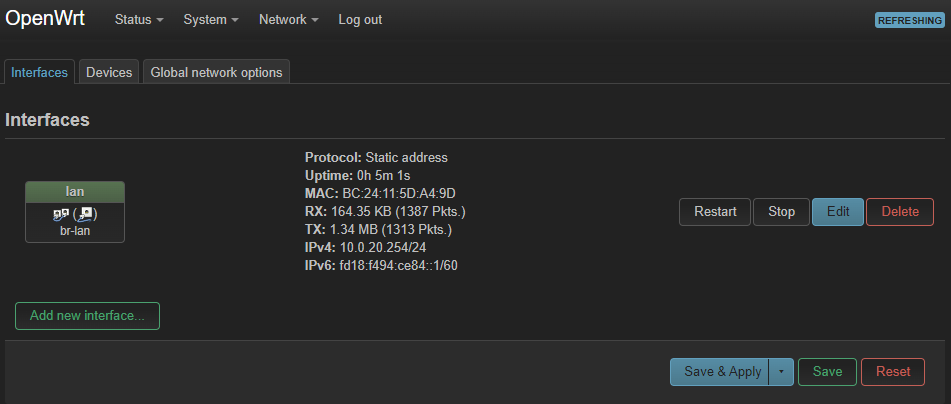
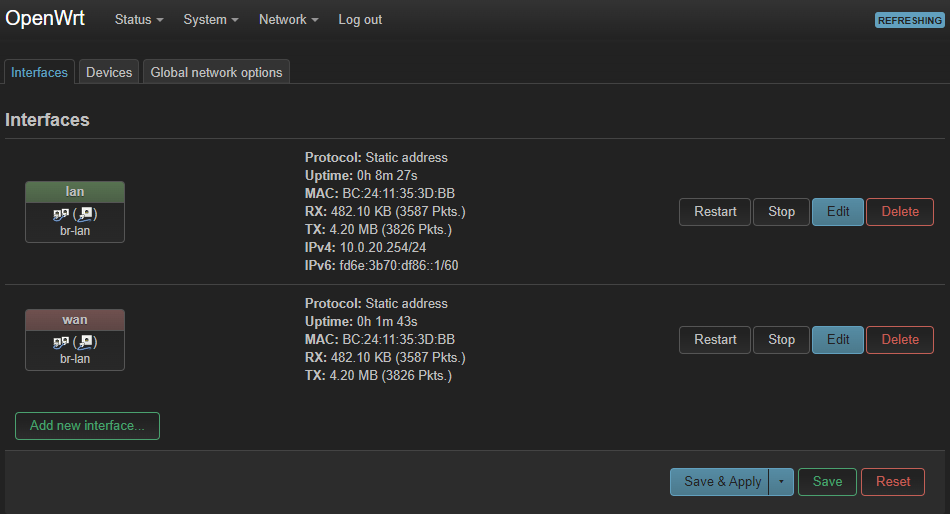
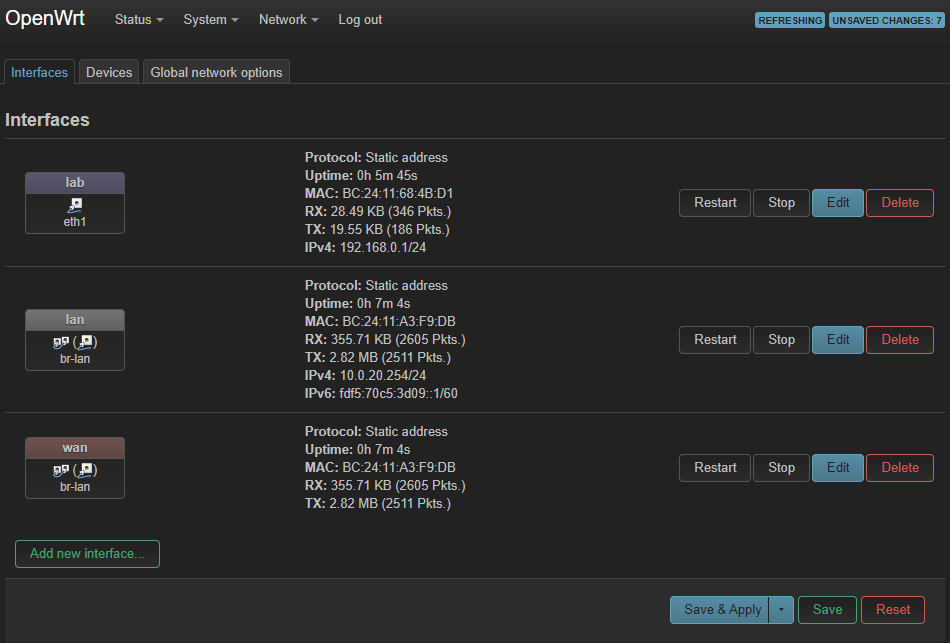
Head back to the Web-UI of OpenWRT, then navigate to Interfaces.
Click Add new interface:
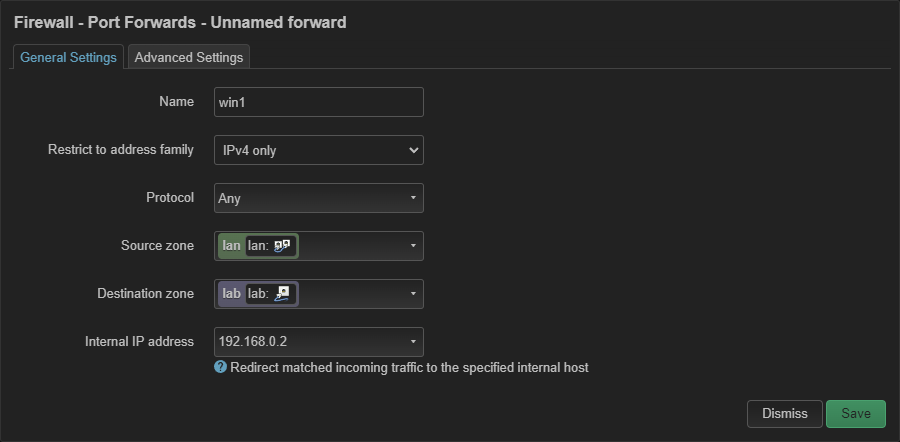
Set the name to the name of your zone, in this case lab, and set the Protocol to Static address.
Also pick the new network device:
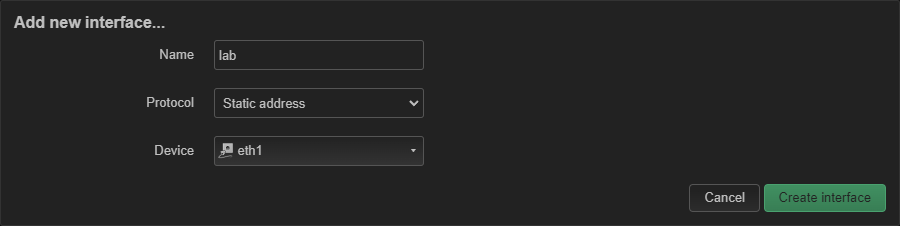
Click Create interface.
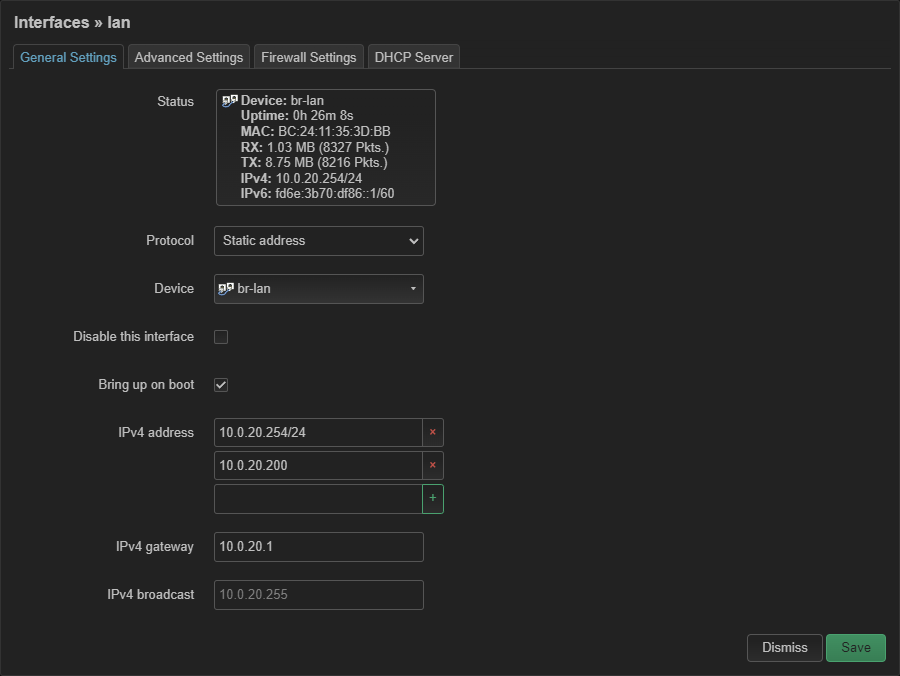
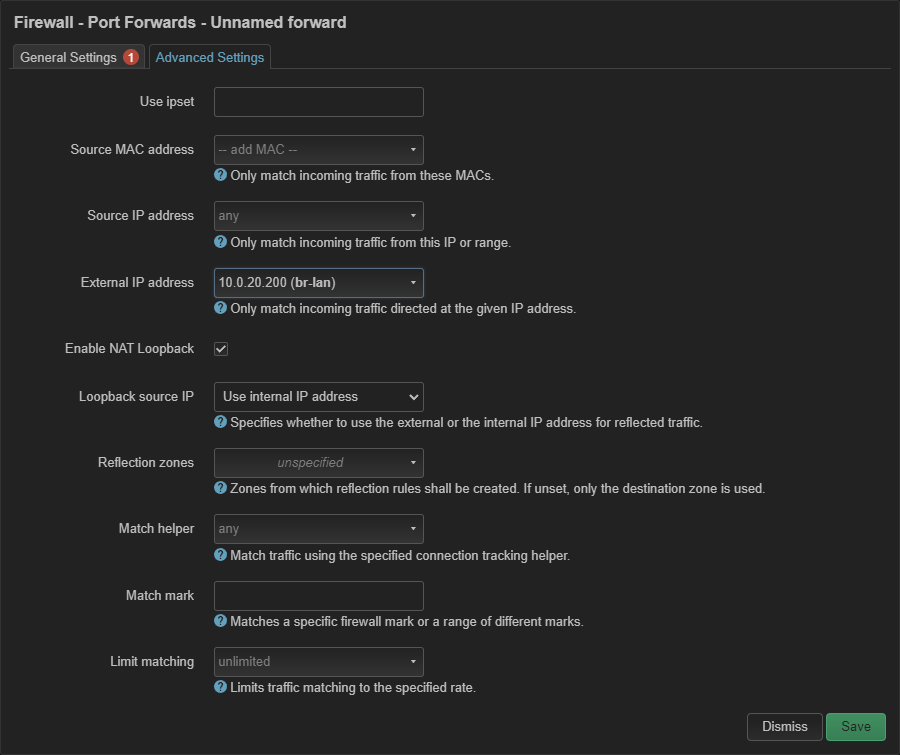
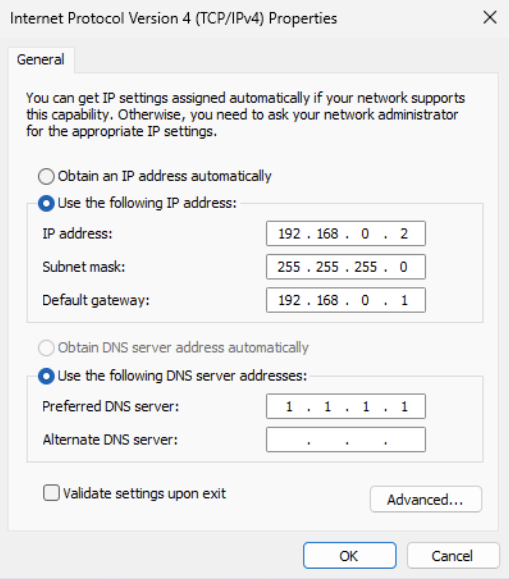
Now configure following items:
General Settings
| IPv4 address |
IPv4 netmask |
| 192.168.0.1 |
255.255.255.0 |
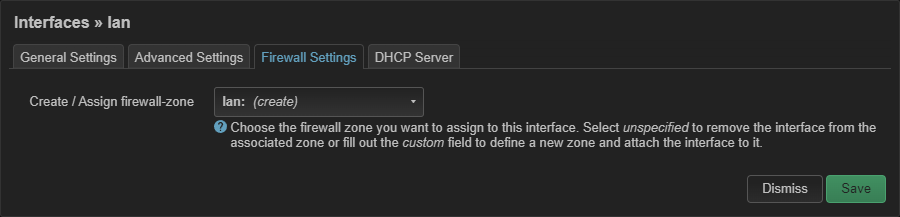
Firewall Settings
| Create firewall-zone |
| custom: lab |
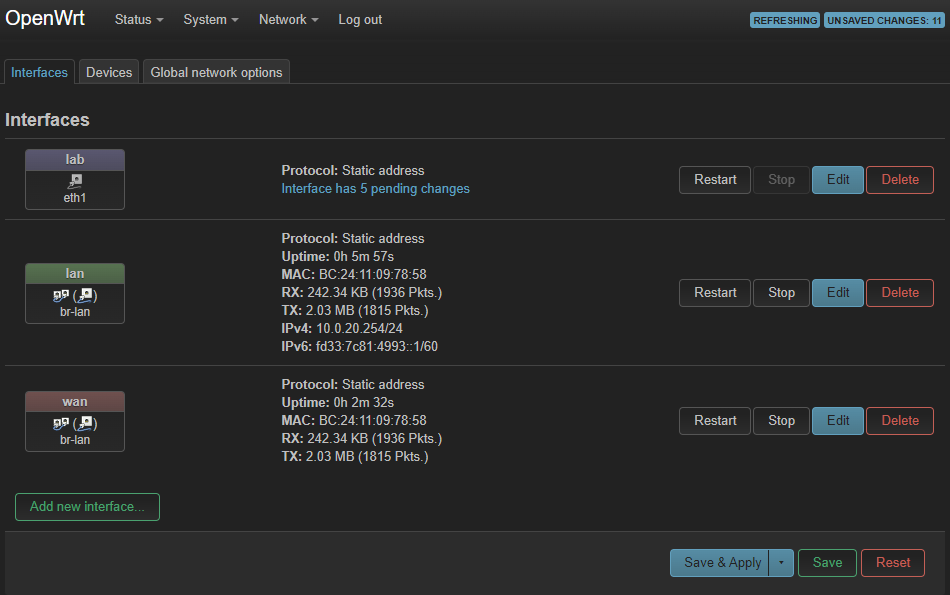
Click Save & Apply to create the new interface.
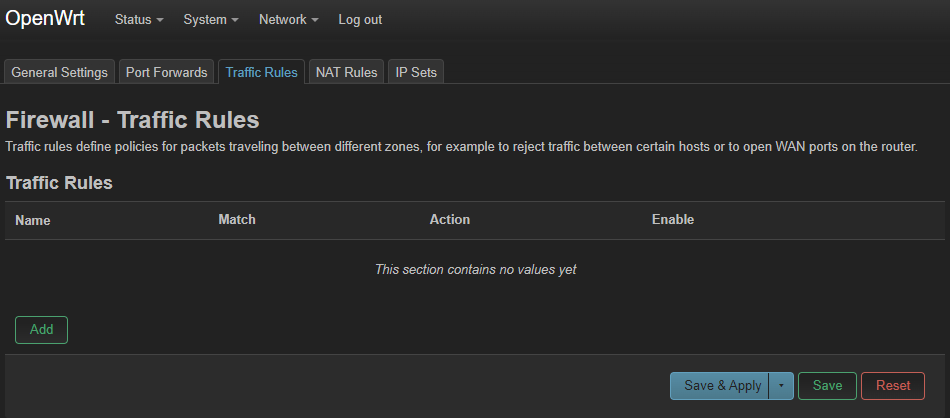
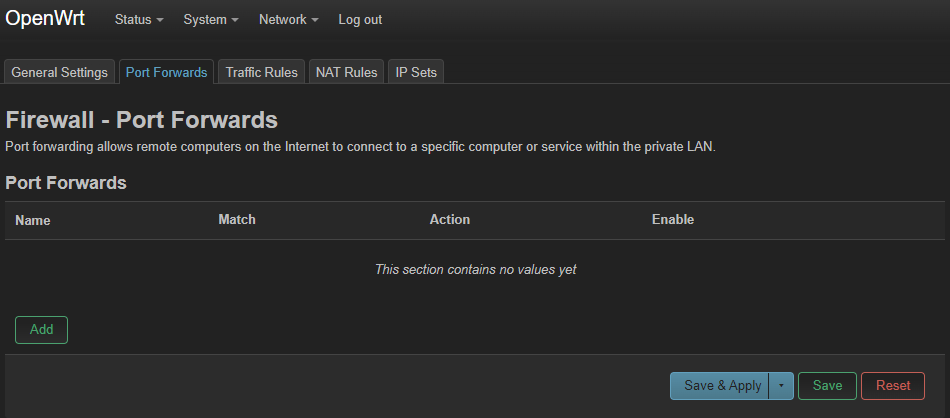
Configure firewall zones
Click Network then Firewall:
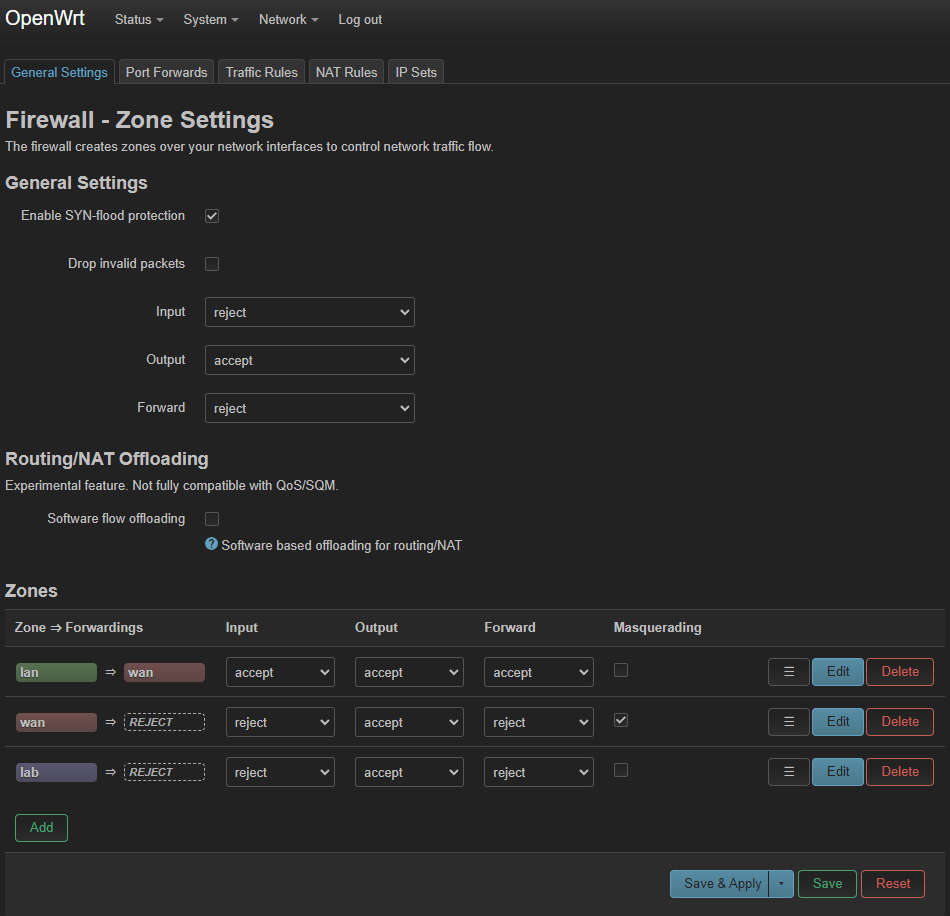
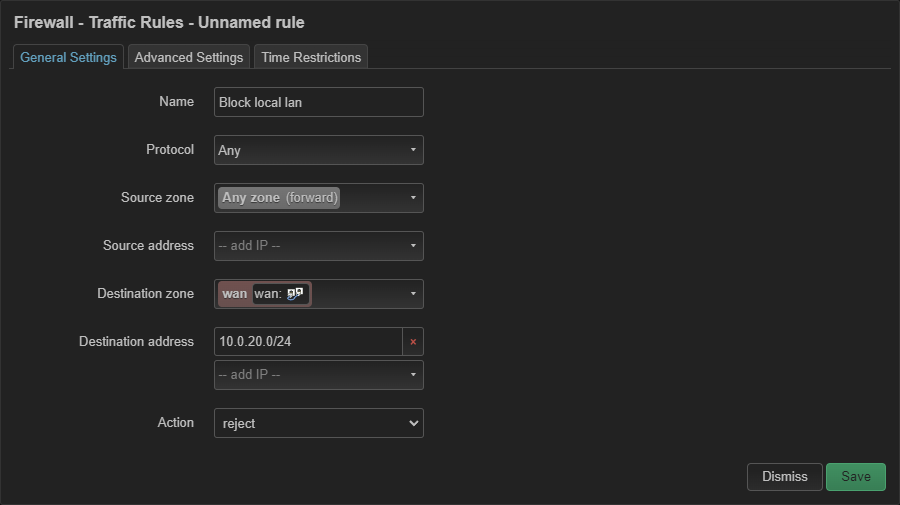
Set the default Output and Input to reject, and change it to the other zones to reject, except on wan.
Delete the lan => wan zone entry, then head to Network and Interfaces:
Edit the lan interface. Create a lan zone by assigning it to a zone named lan in the Firewall Settings tab:
Head back to the Network, then Firewall.
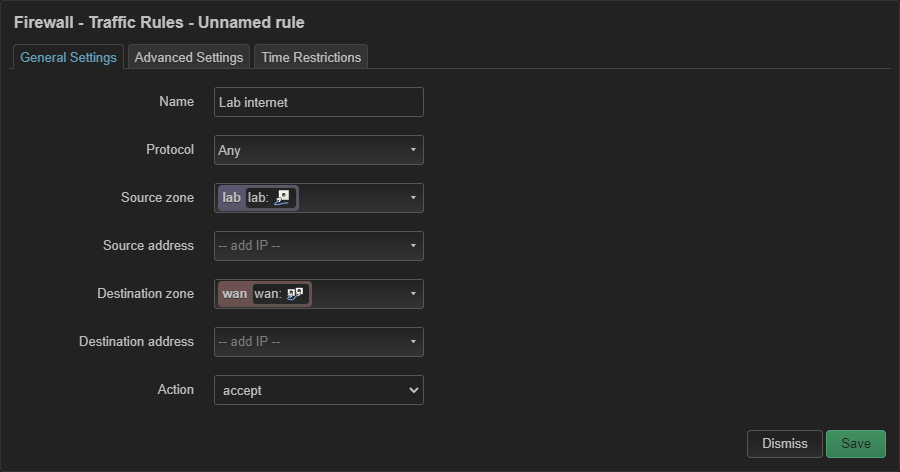
Set Input and Output to accept for wan.
When everything's good it should look like this:
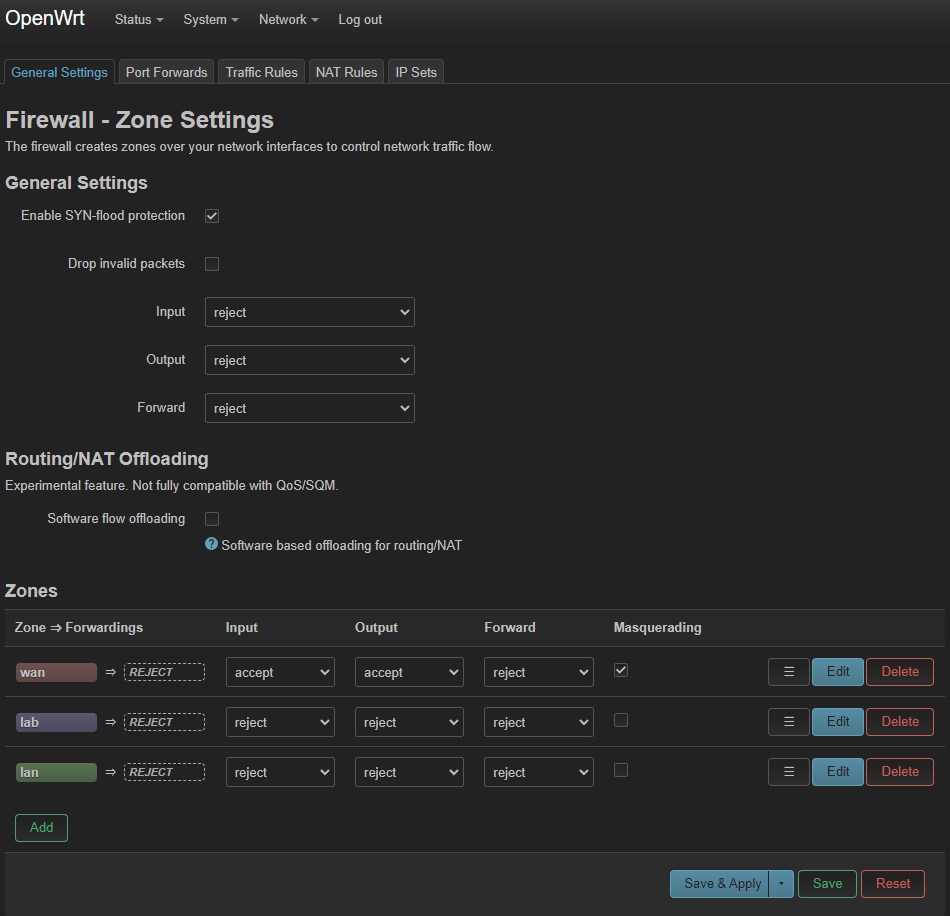
Hit Save & Apply.