Restoring to a Proxmox VE VM
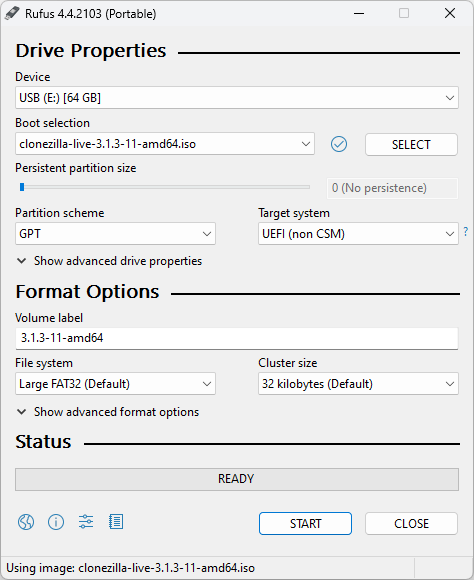
Upload the Clonezilla ISO to your Proxmox VE storage.
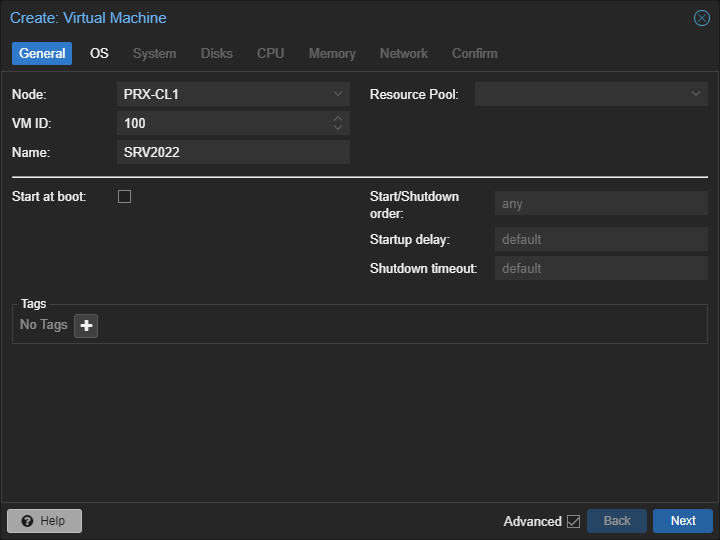
On the top right click Create VM.
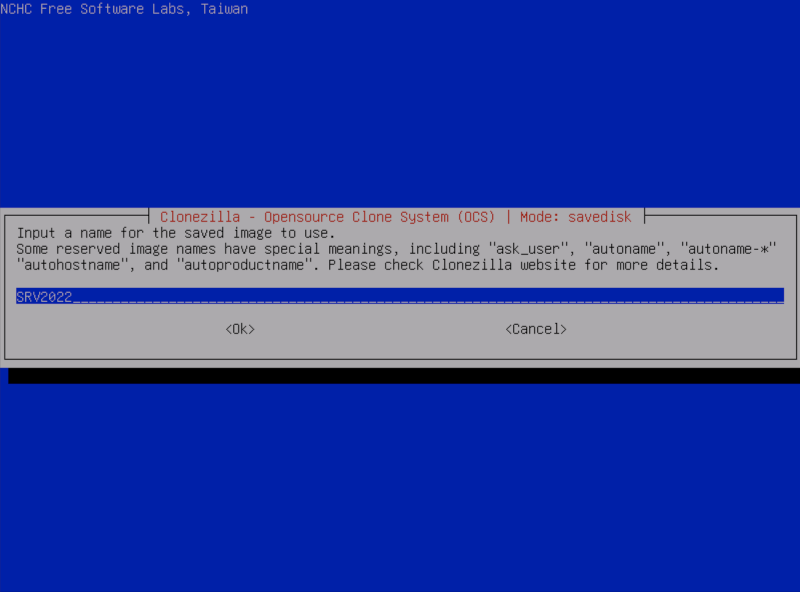
Choose a fitting name, in this case SRV2022, then click Next.
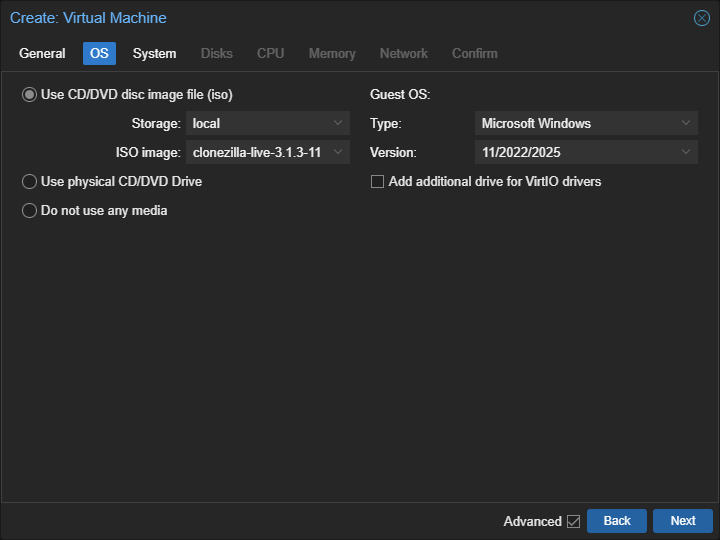
Select the Clonezilla ISO and select the correct Guest OS:
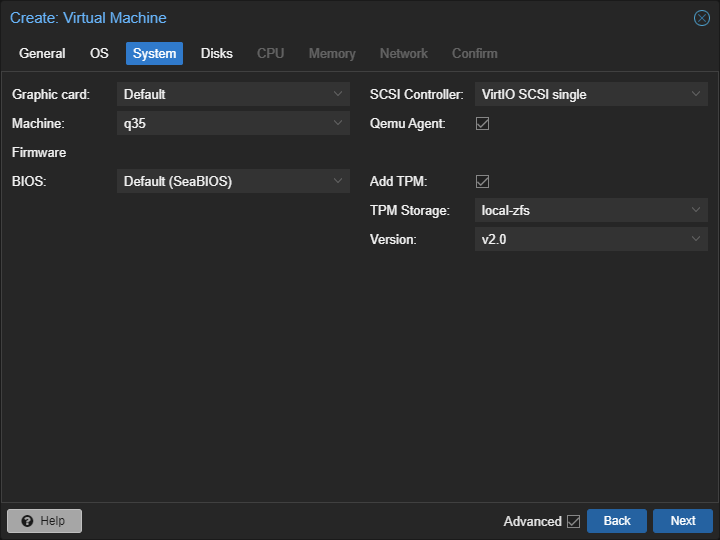
Change the BIOS to SeaBIOS, as there's a bug that prevents Clonezilla to boot on OVMF.
Check Qemu Agent, select the TPM storage, and continue:
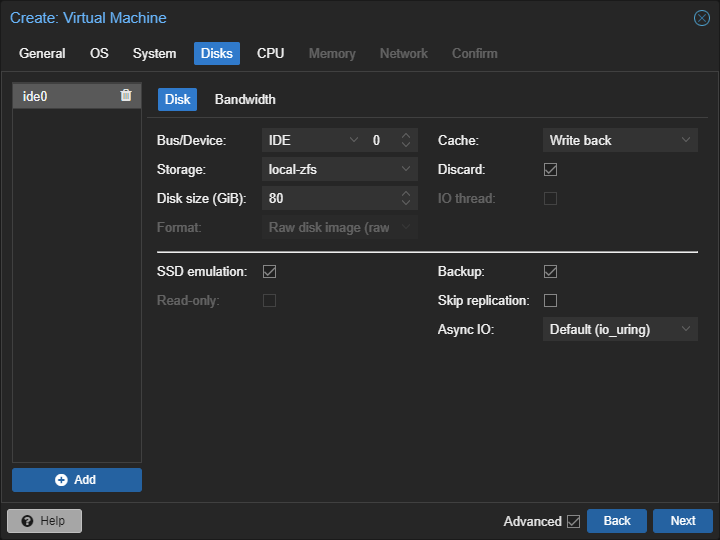
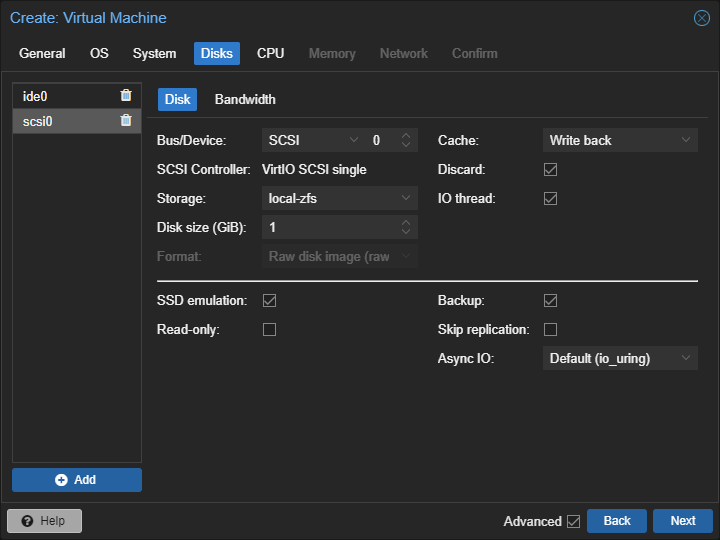
Recreate the disk, keep it as IDE.
Also add a new drive with the size of 1 GB, and change the type to SCSI.
This is because Windows can't boot from a device it hasn't seen before. We'll adjust this later.
Click Next.
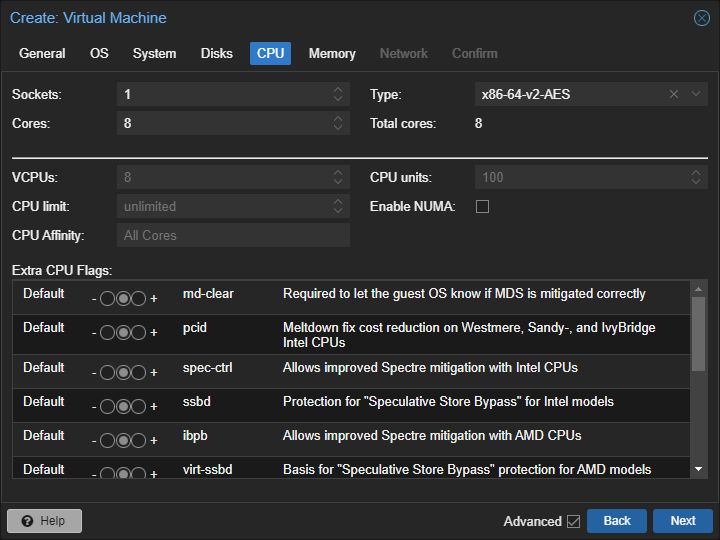
Choose the resources for the VM:
Click Next.
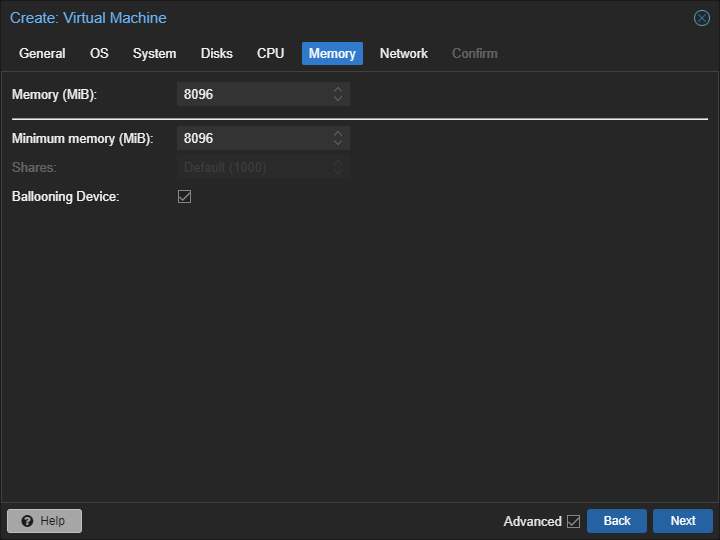
Here as well:
Click Next.
You can set the Model to VirtIO:
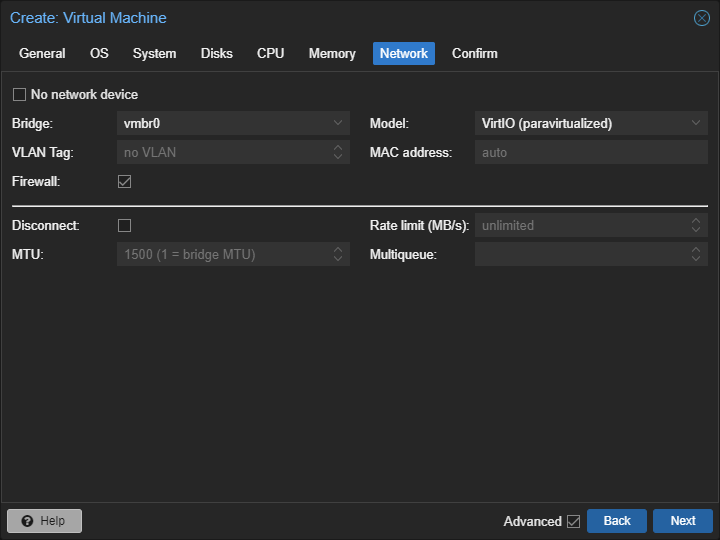
Check the configuration, and click Finish.
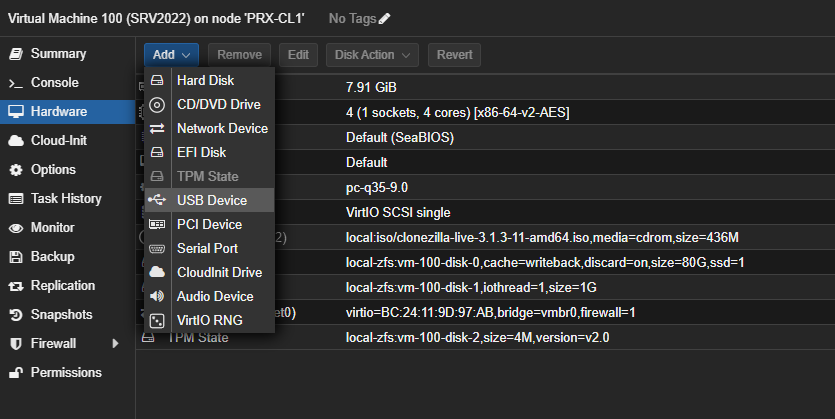
Within Hardware of the VM, click Add and click USB Device.
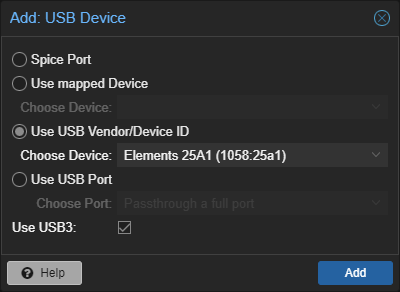
Choose the external disk and click Add.
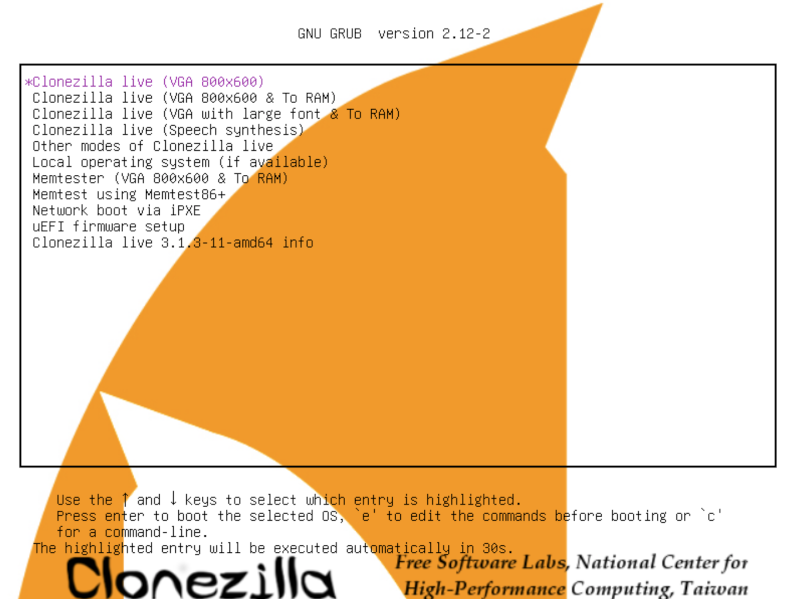
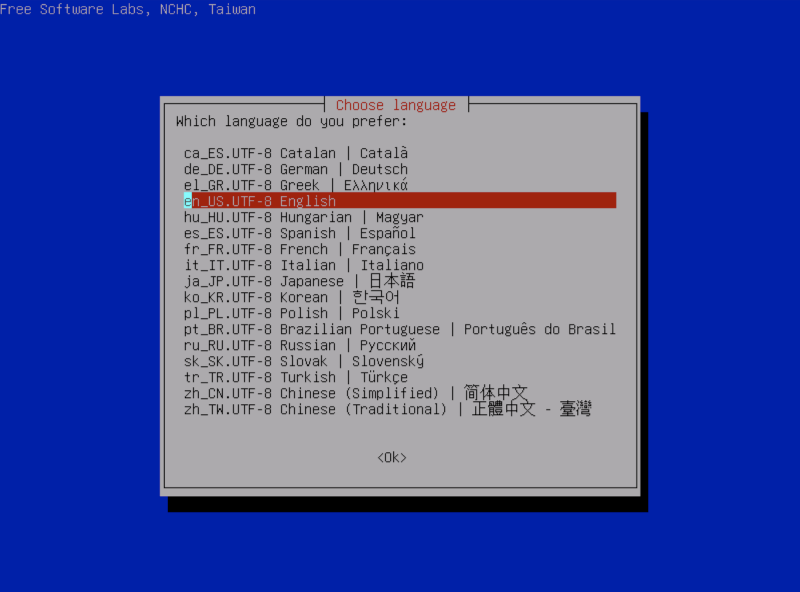
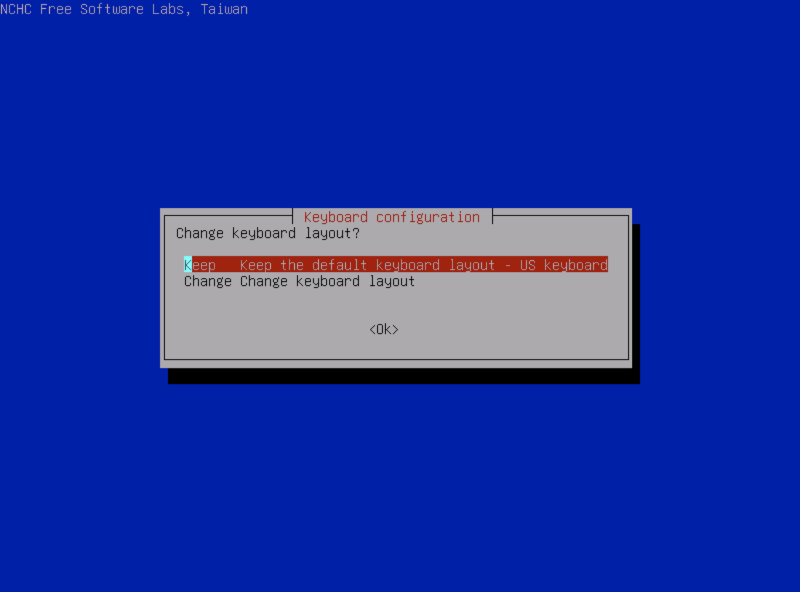
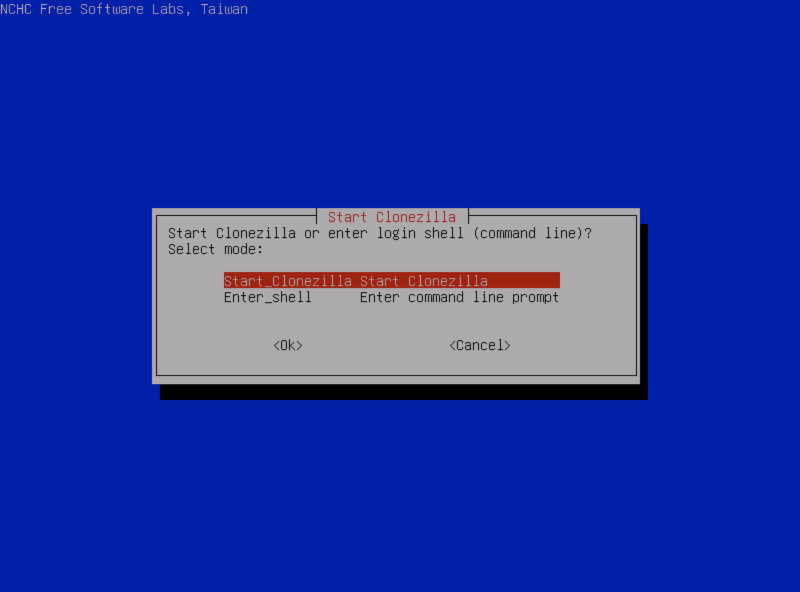
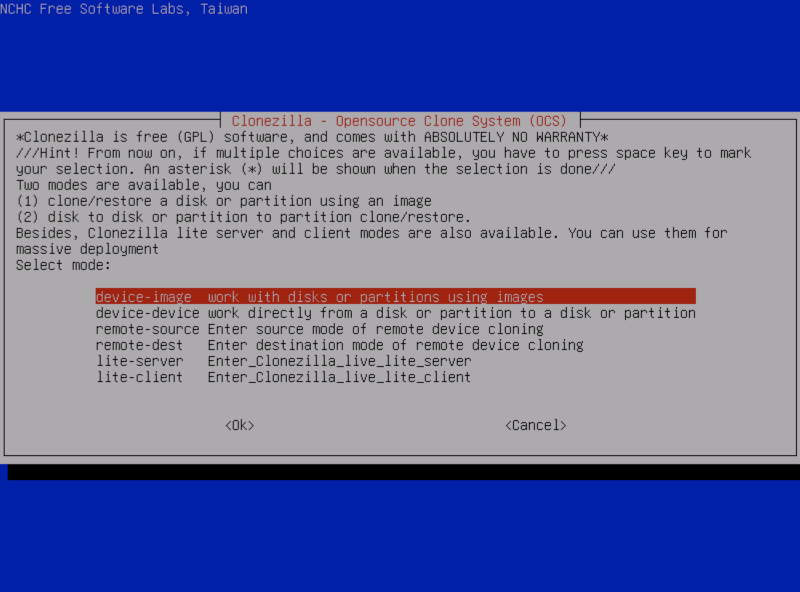
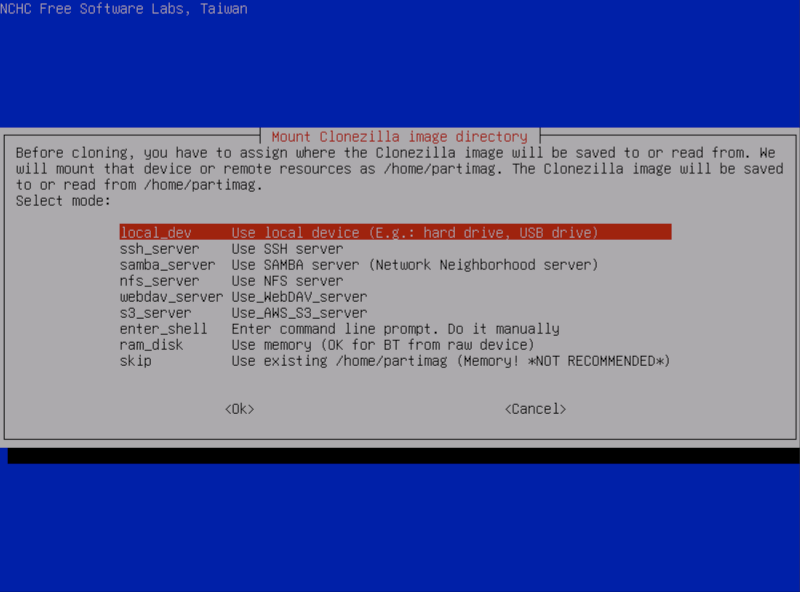
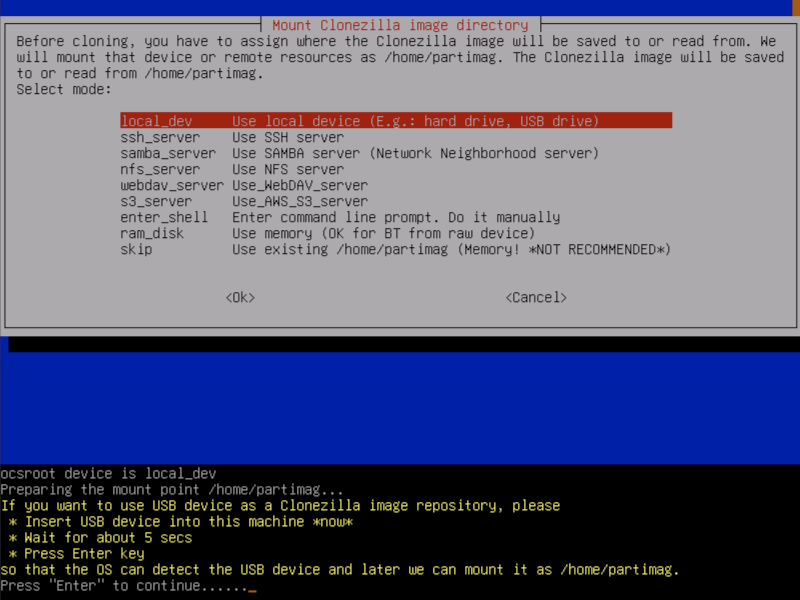
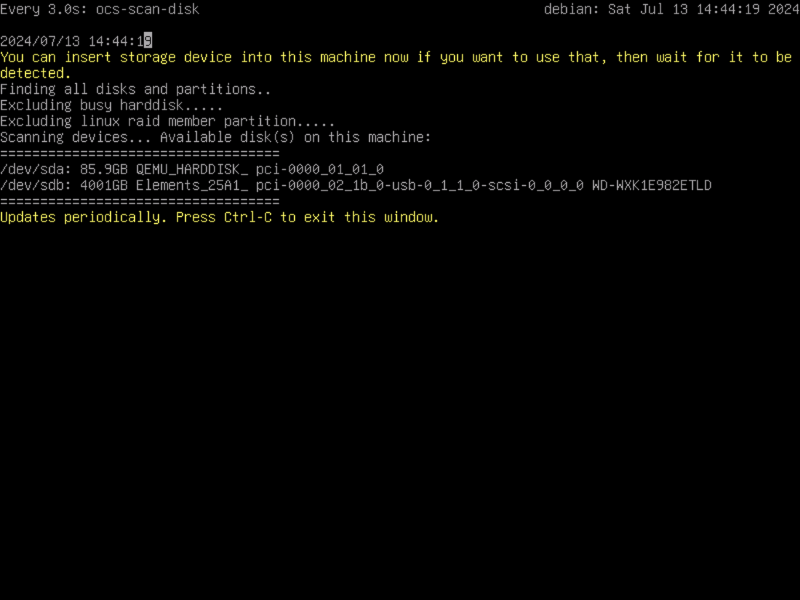
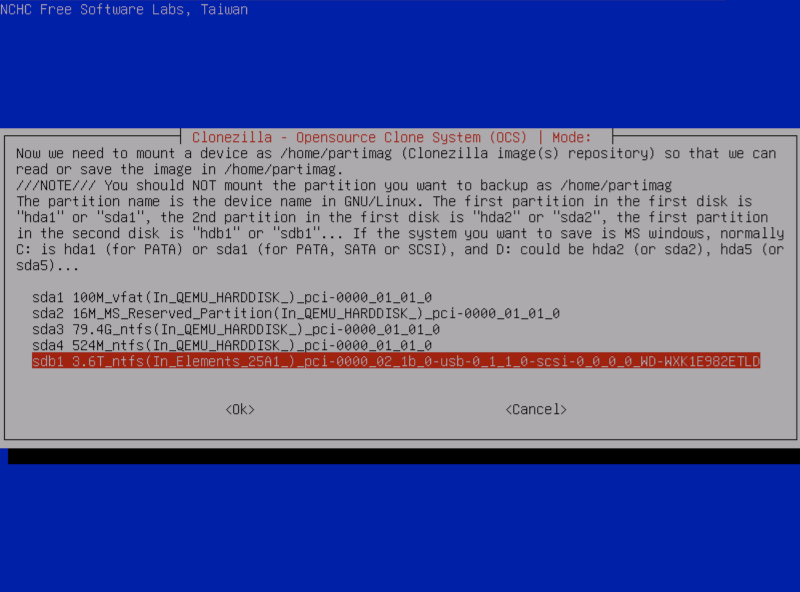
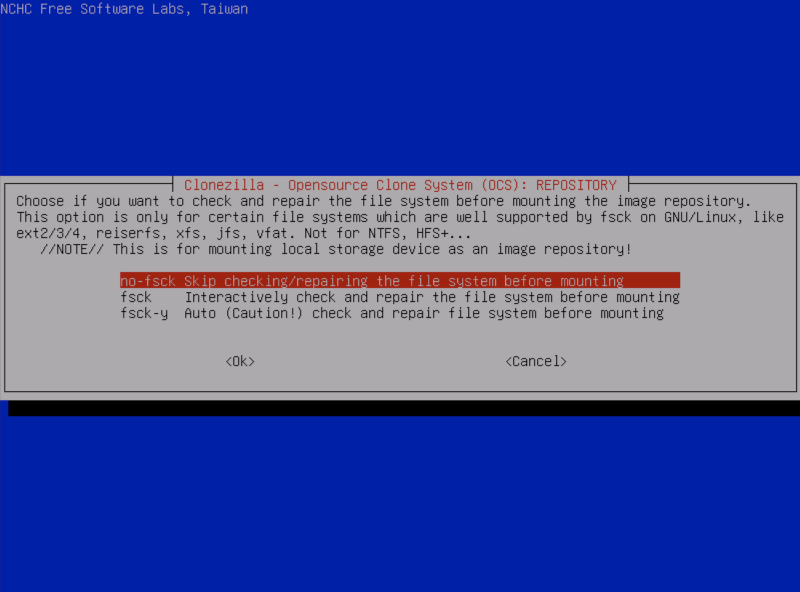
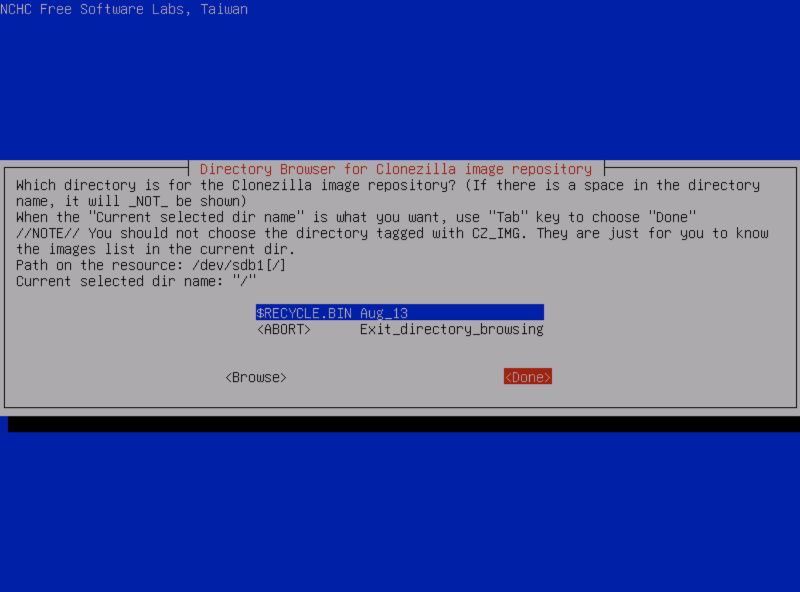
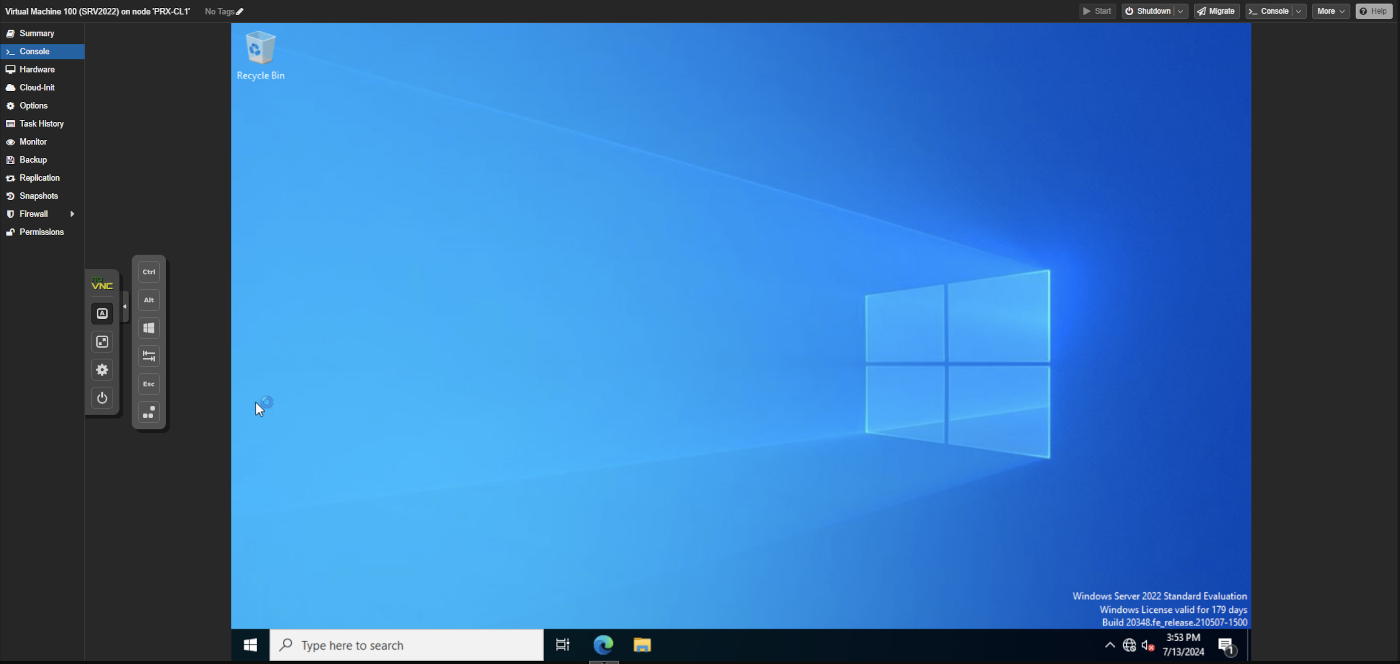
Start the VM and navigate the same as before until you're at this screen:
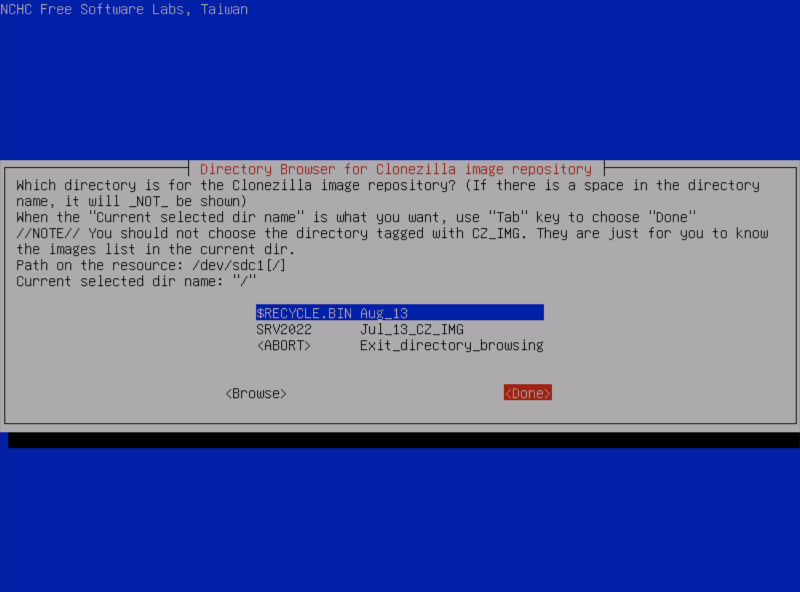
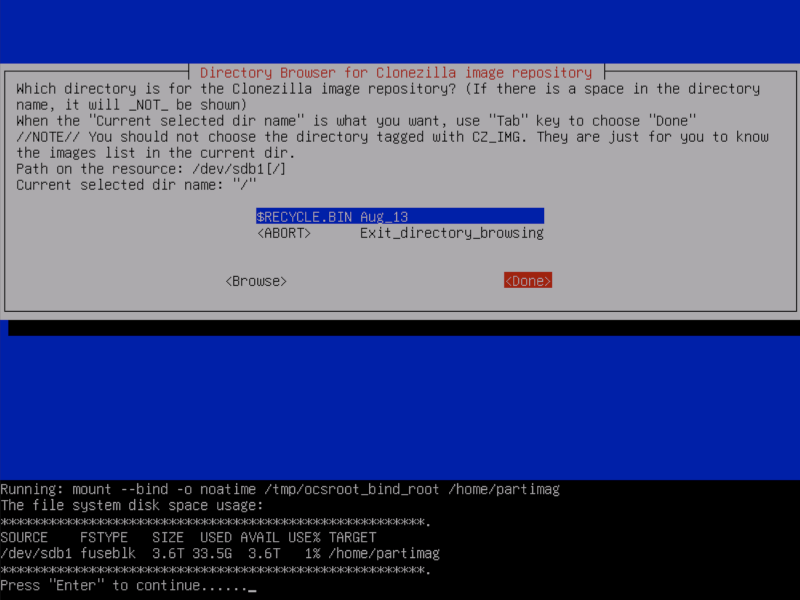
When you see your folder containing the backup, use tab to navigate to Done and press enter.
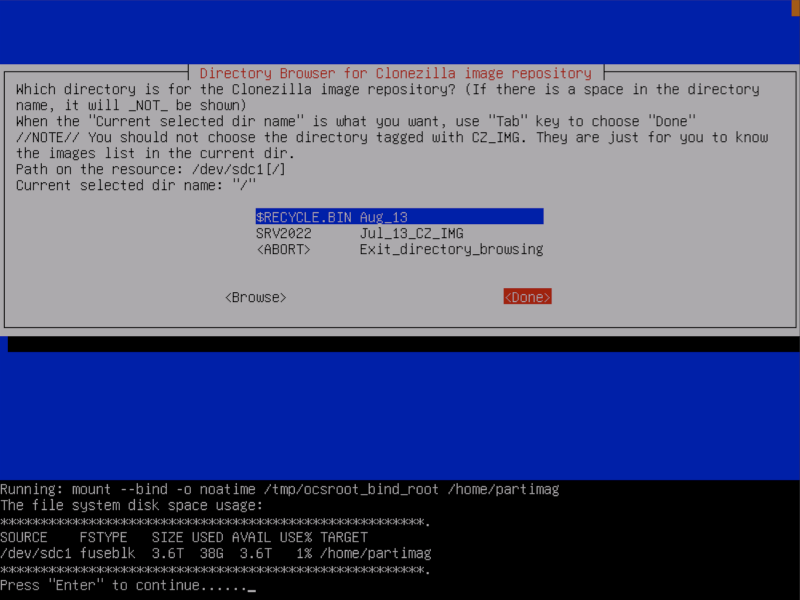
Press enter again:
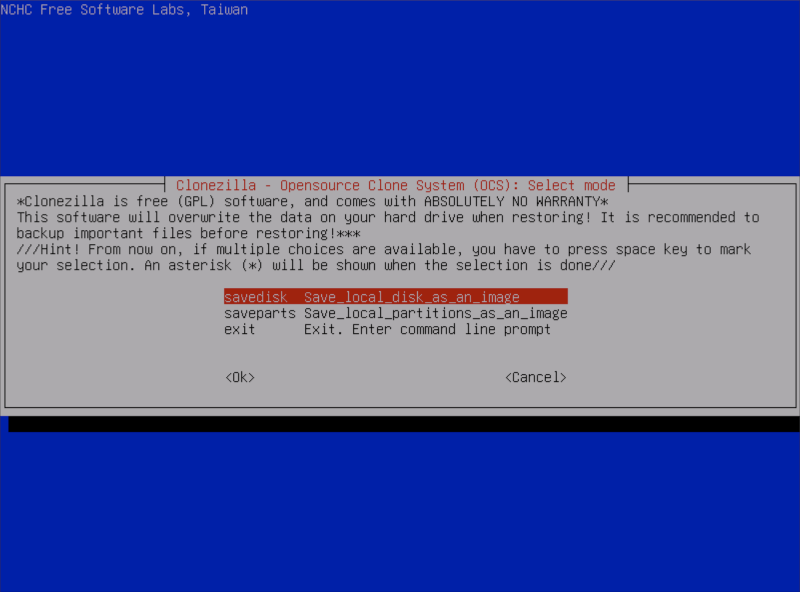
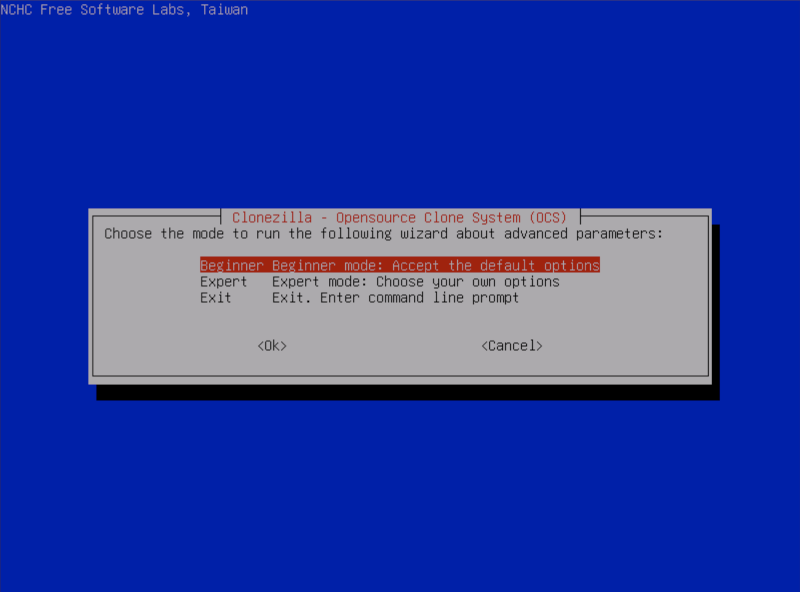
Press Beginner.
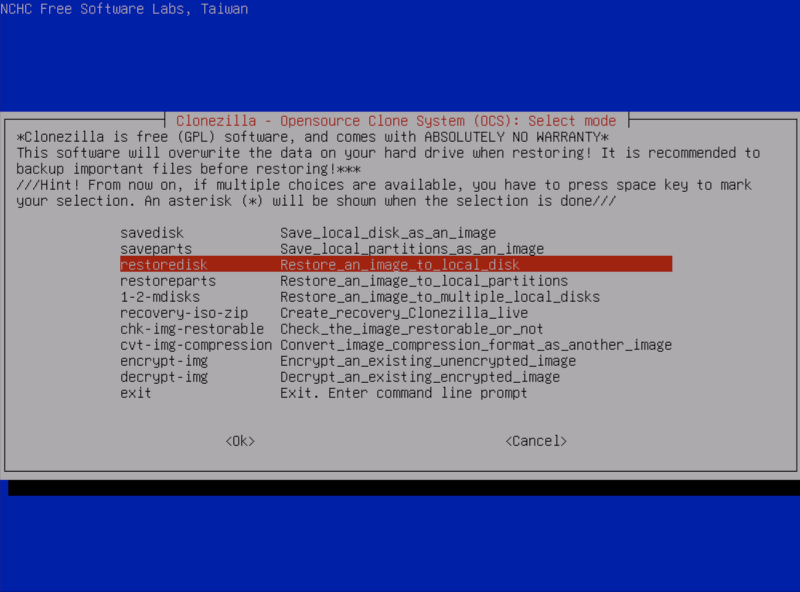
Then press on restoredisk.
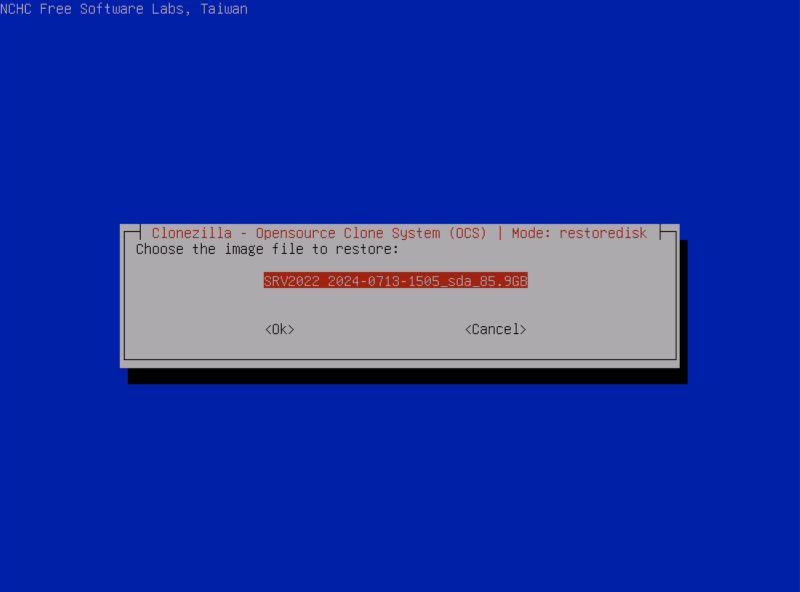
Choose the image file:
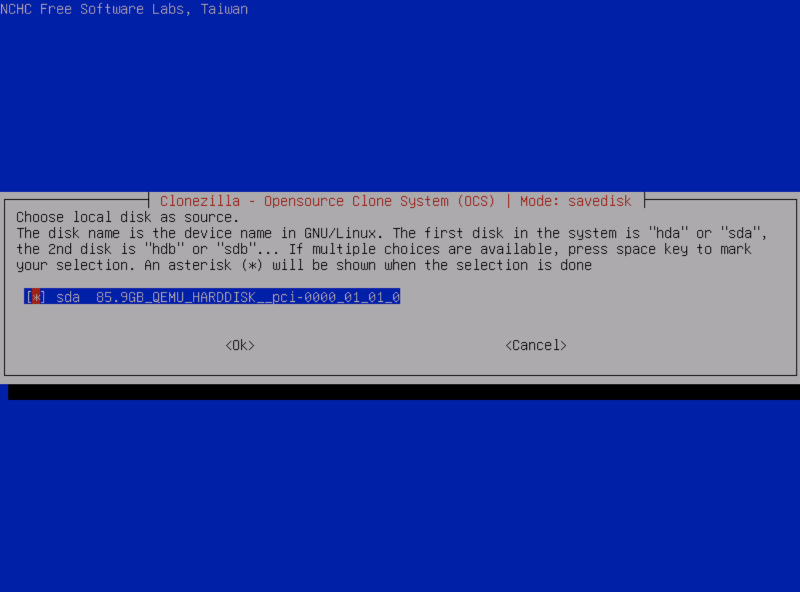
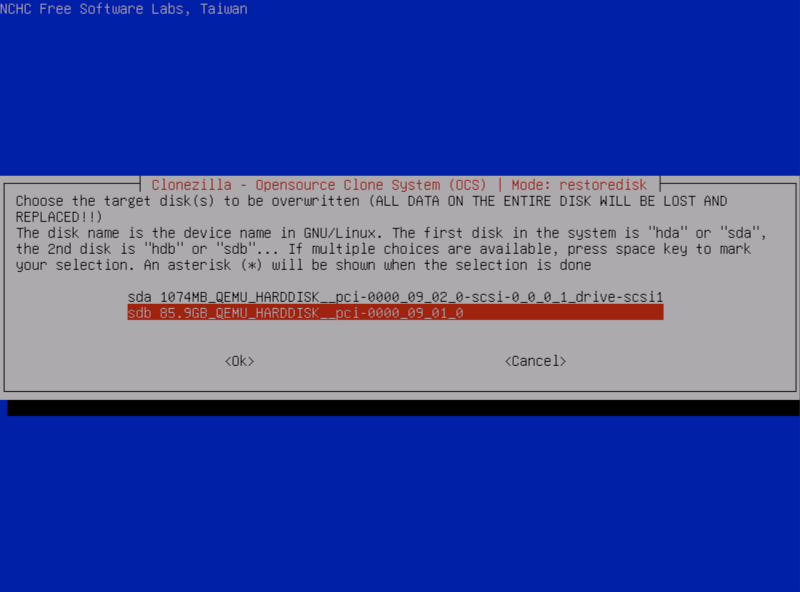
Then select the correct disk by size:
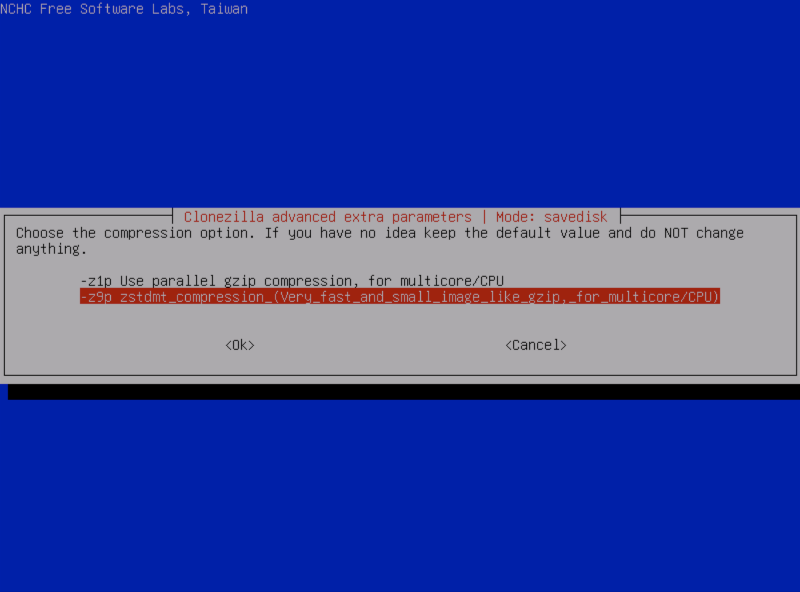
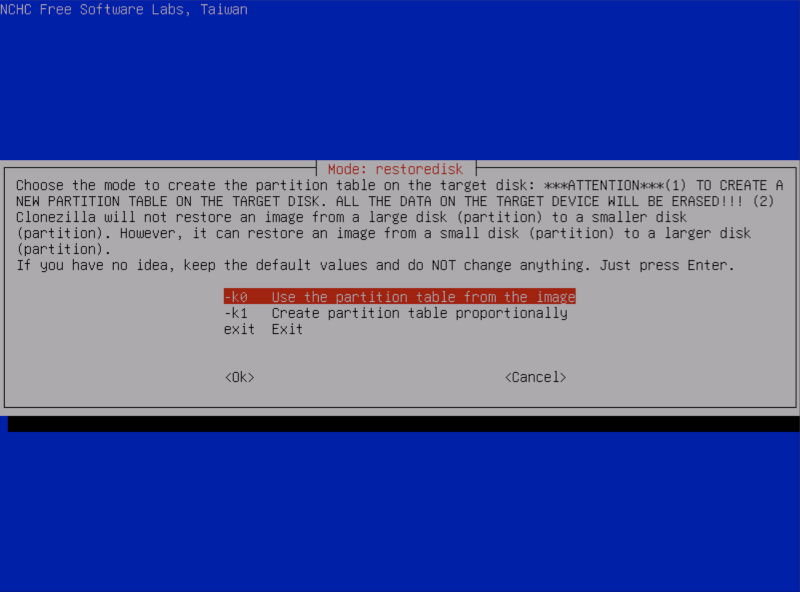
Choose -k0 and hit OK.
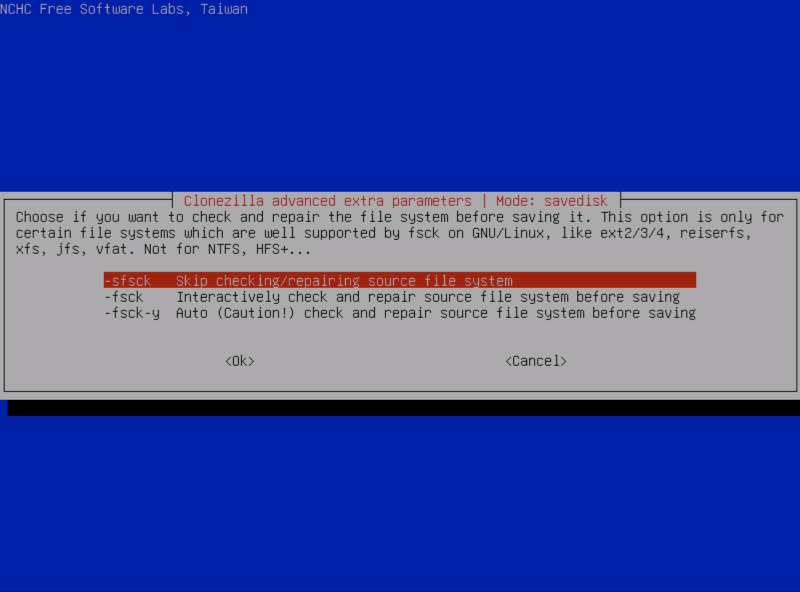
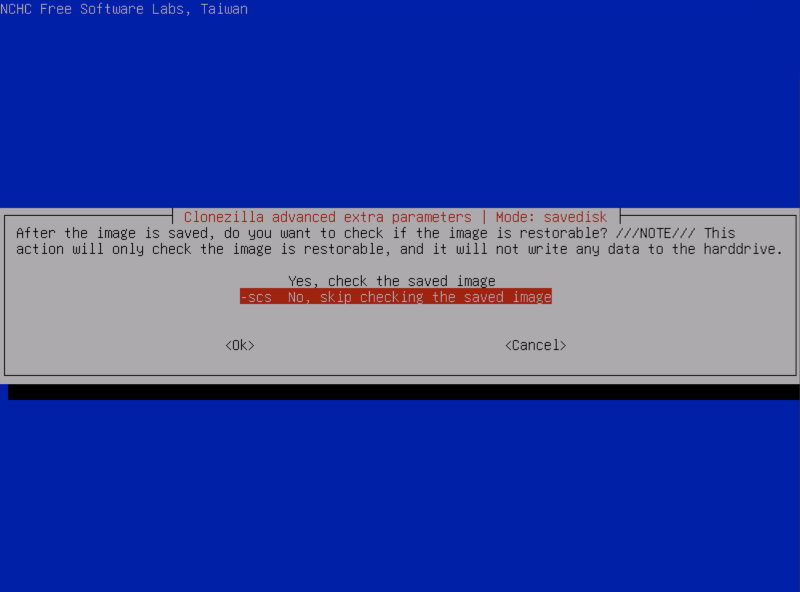
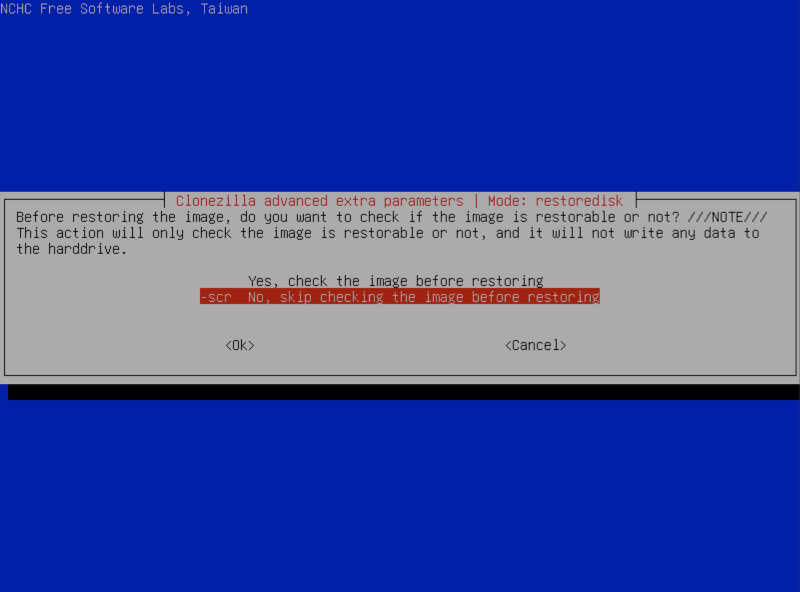
Skip the check:
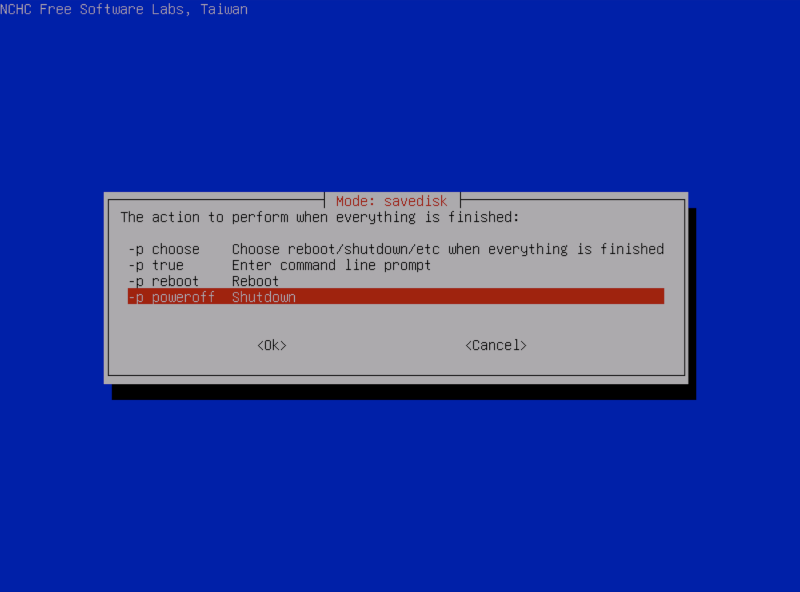
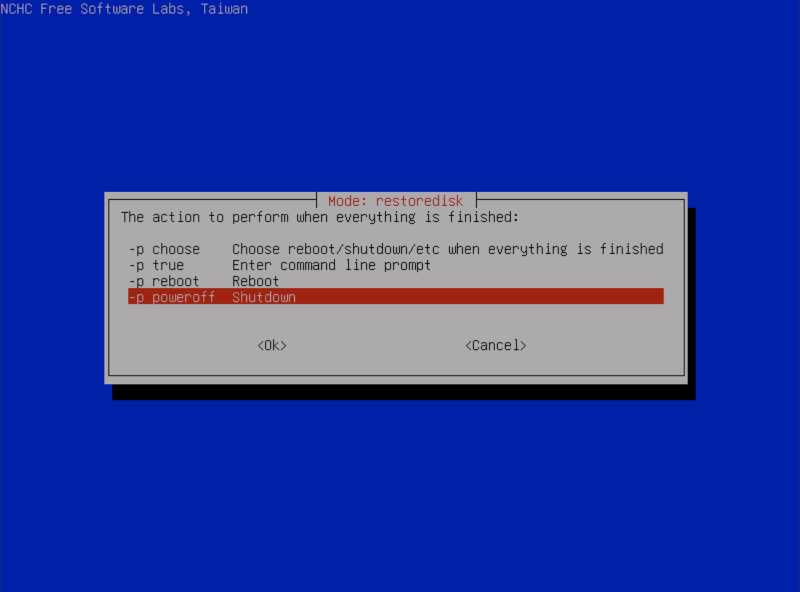
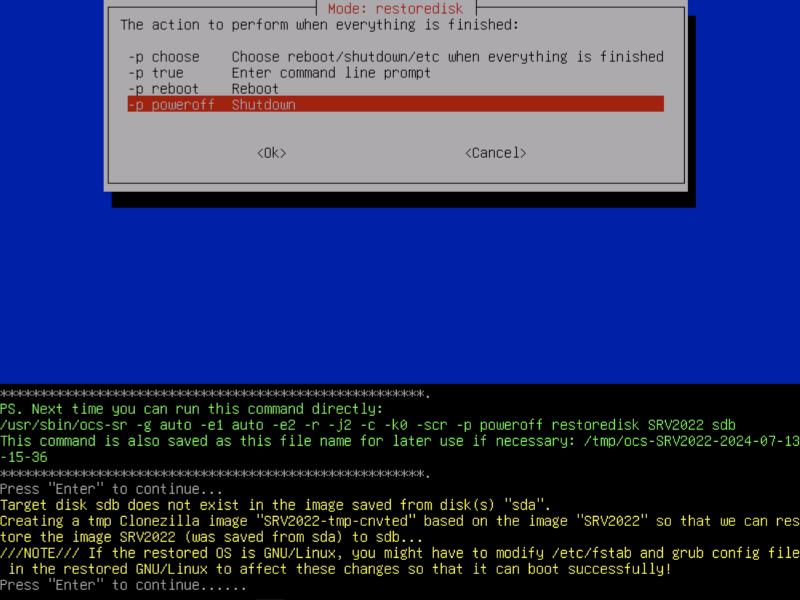
Choose poweroff:
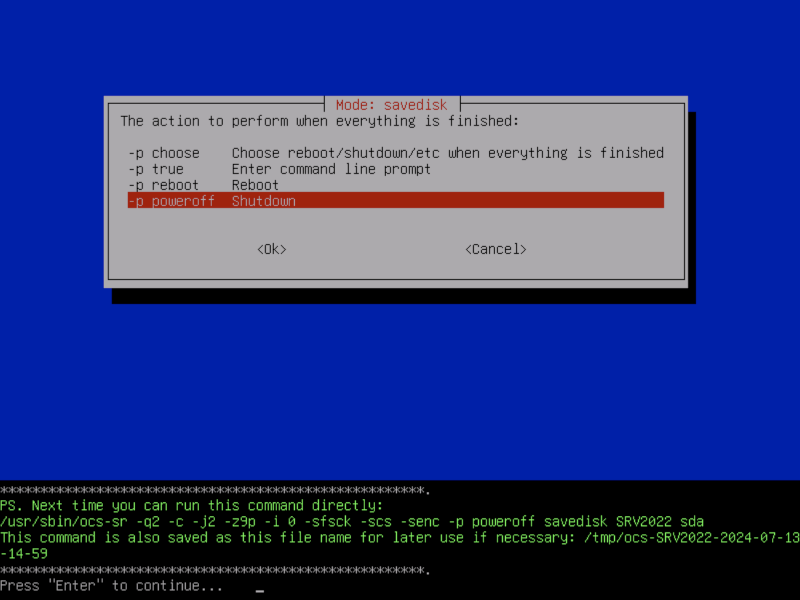
Press enter again:
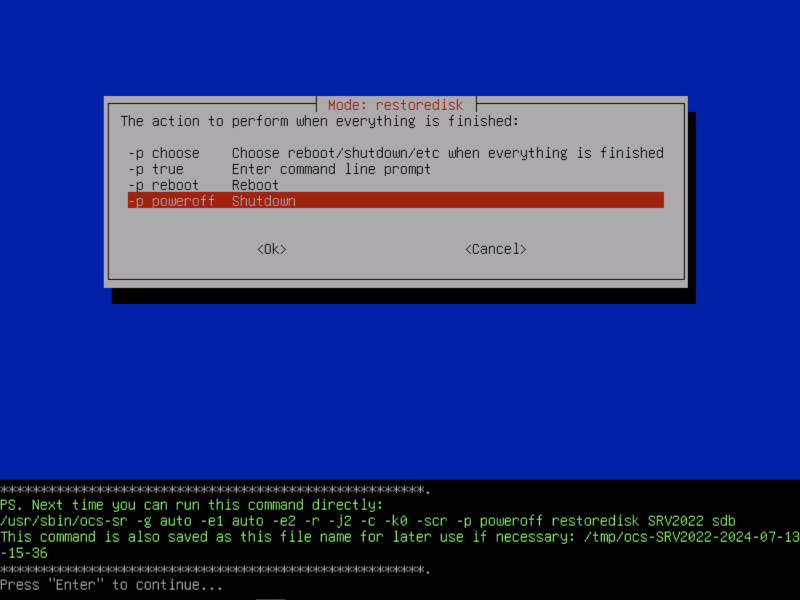
Press enter again:
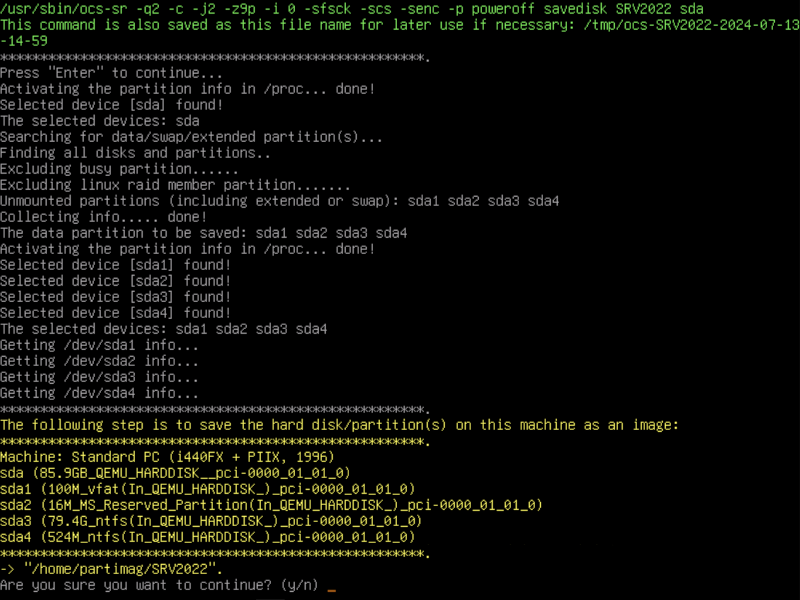
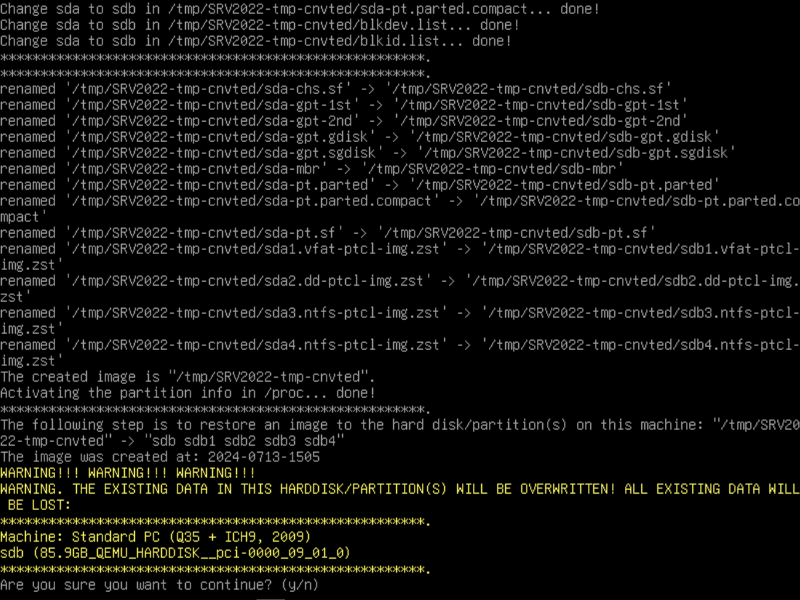
Press y twice to begin the restore:
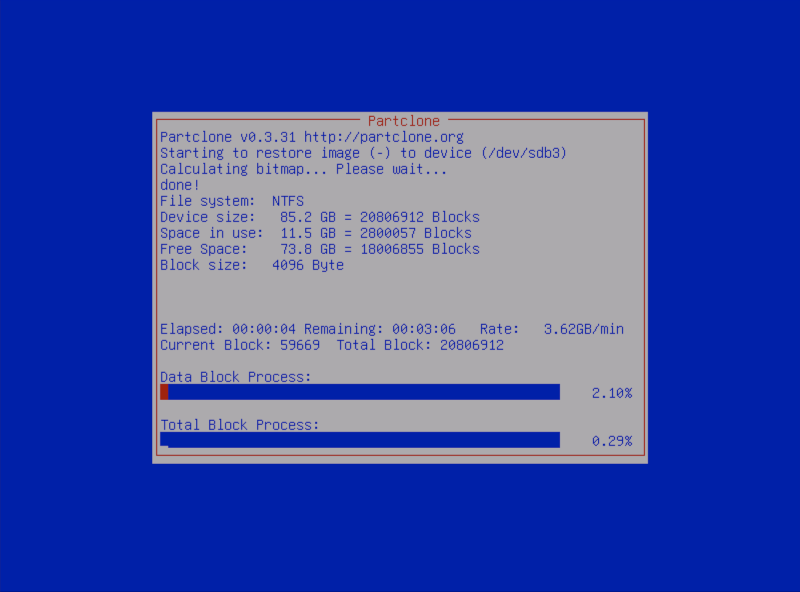
This will take a while, you might be prompted for an enter when it's done, then it will shutdown.
Wait for this to finish.
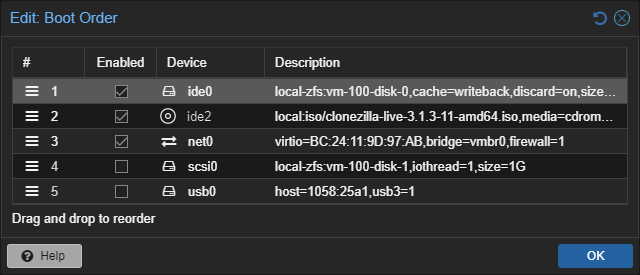
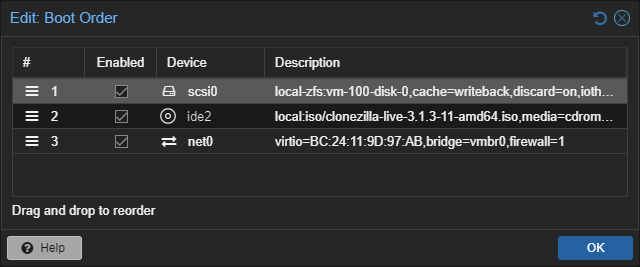
Head back to the VM Options and make sure the boot order looks like this.
Enable ide0 and move it to the top:
Also remove the USB Device from your VMs Hardware.
Within your VMs Hardware also change the BIOS to OVMF, and add an EFI disk. Change the Machine to i440fx as well.
Then power on your VM, when you're at your desktop, shutdown your VM again.
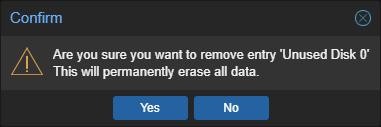
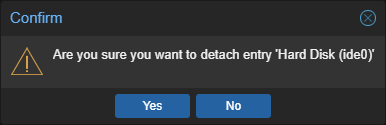
Within your VMs Hardware, detach, then remove the 1 GB sized hard disk.
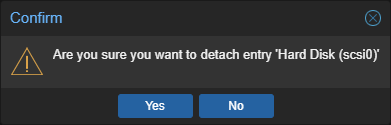
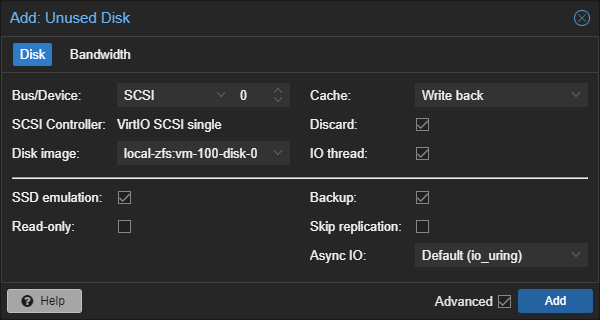
Also detach your disk-0 and, and attach it again as SCSI.
Once configured click Add.
Head back to Options and change the boot order back:
Start your VM, configure the IP address and observe if everything works.
🎉 Congratulations, you have migrated a physical computer to a Proxmox VE VM.